By Ferd Sobol
IGMA Fellow, Ferd Sobol often questions himself, “How can I recreate that rich tapestry of details that the original full sized piece of furniture proudly displayed? It is those details that continually seize and coax my imagination.”
He continues: “It is always the lovely details that bewitch me with their petite charm, and tantalise my curiosity by challenging me to find a way with my huge giant fingers to bring about their pure perfection in twelfth scale. My process sometimes moves forward at a snail’s pace, but a plan gradually emerges, taking form first in my mind, then onto paper and finally in a trial and error sequence of events that either prove it to be worthy or not. If it is a failure, on any level of criteria, it is then back to the drawing board to begin again. However, if success is viable, then I proceed with great joy.”
After 38 years of building miniature furniture, Ferd knows that success with details begins with a careful analysis of the essence of the piece, the function it serves and the beauty it brings to a room. The grain pattern of the wood often becomes his basic starting place, and usually the tighter the grain the better the final result. Then the structure is studied, the design reduced to scale, the order of the building process is determined, and jigs are created. Then the imagination moves onto those blessed details.
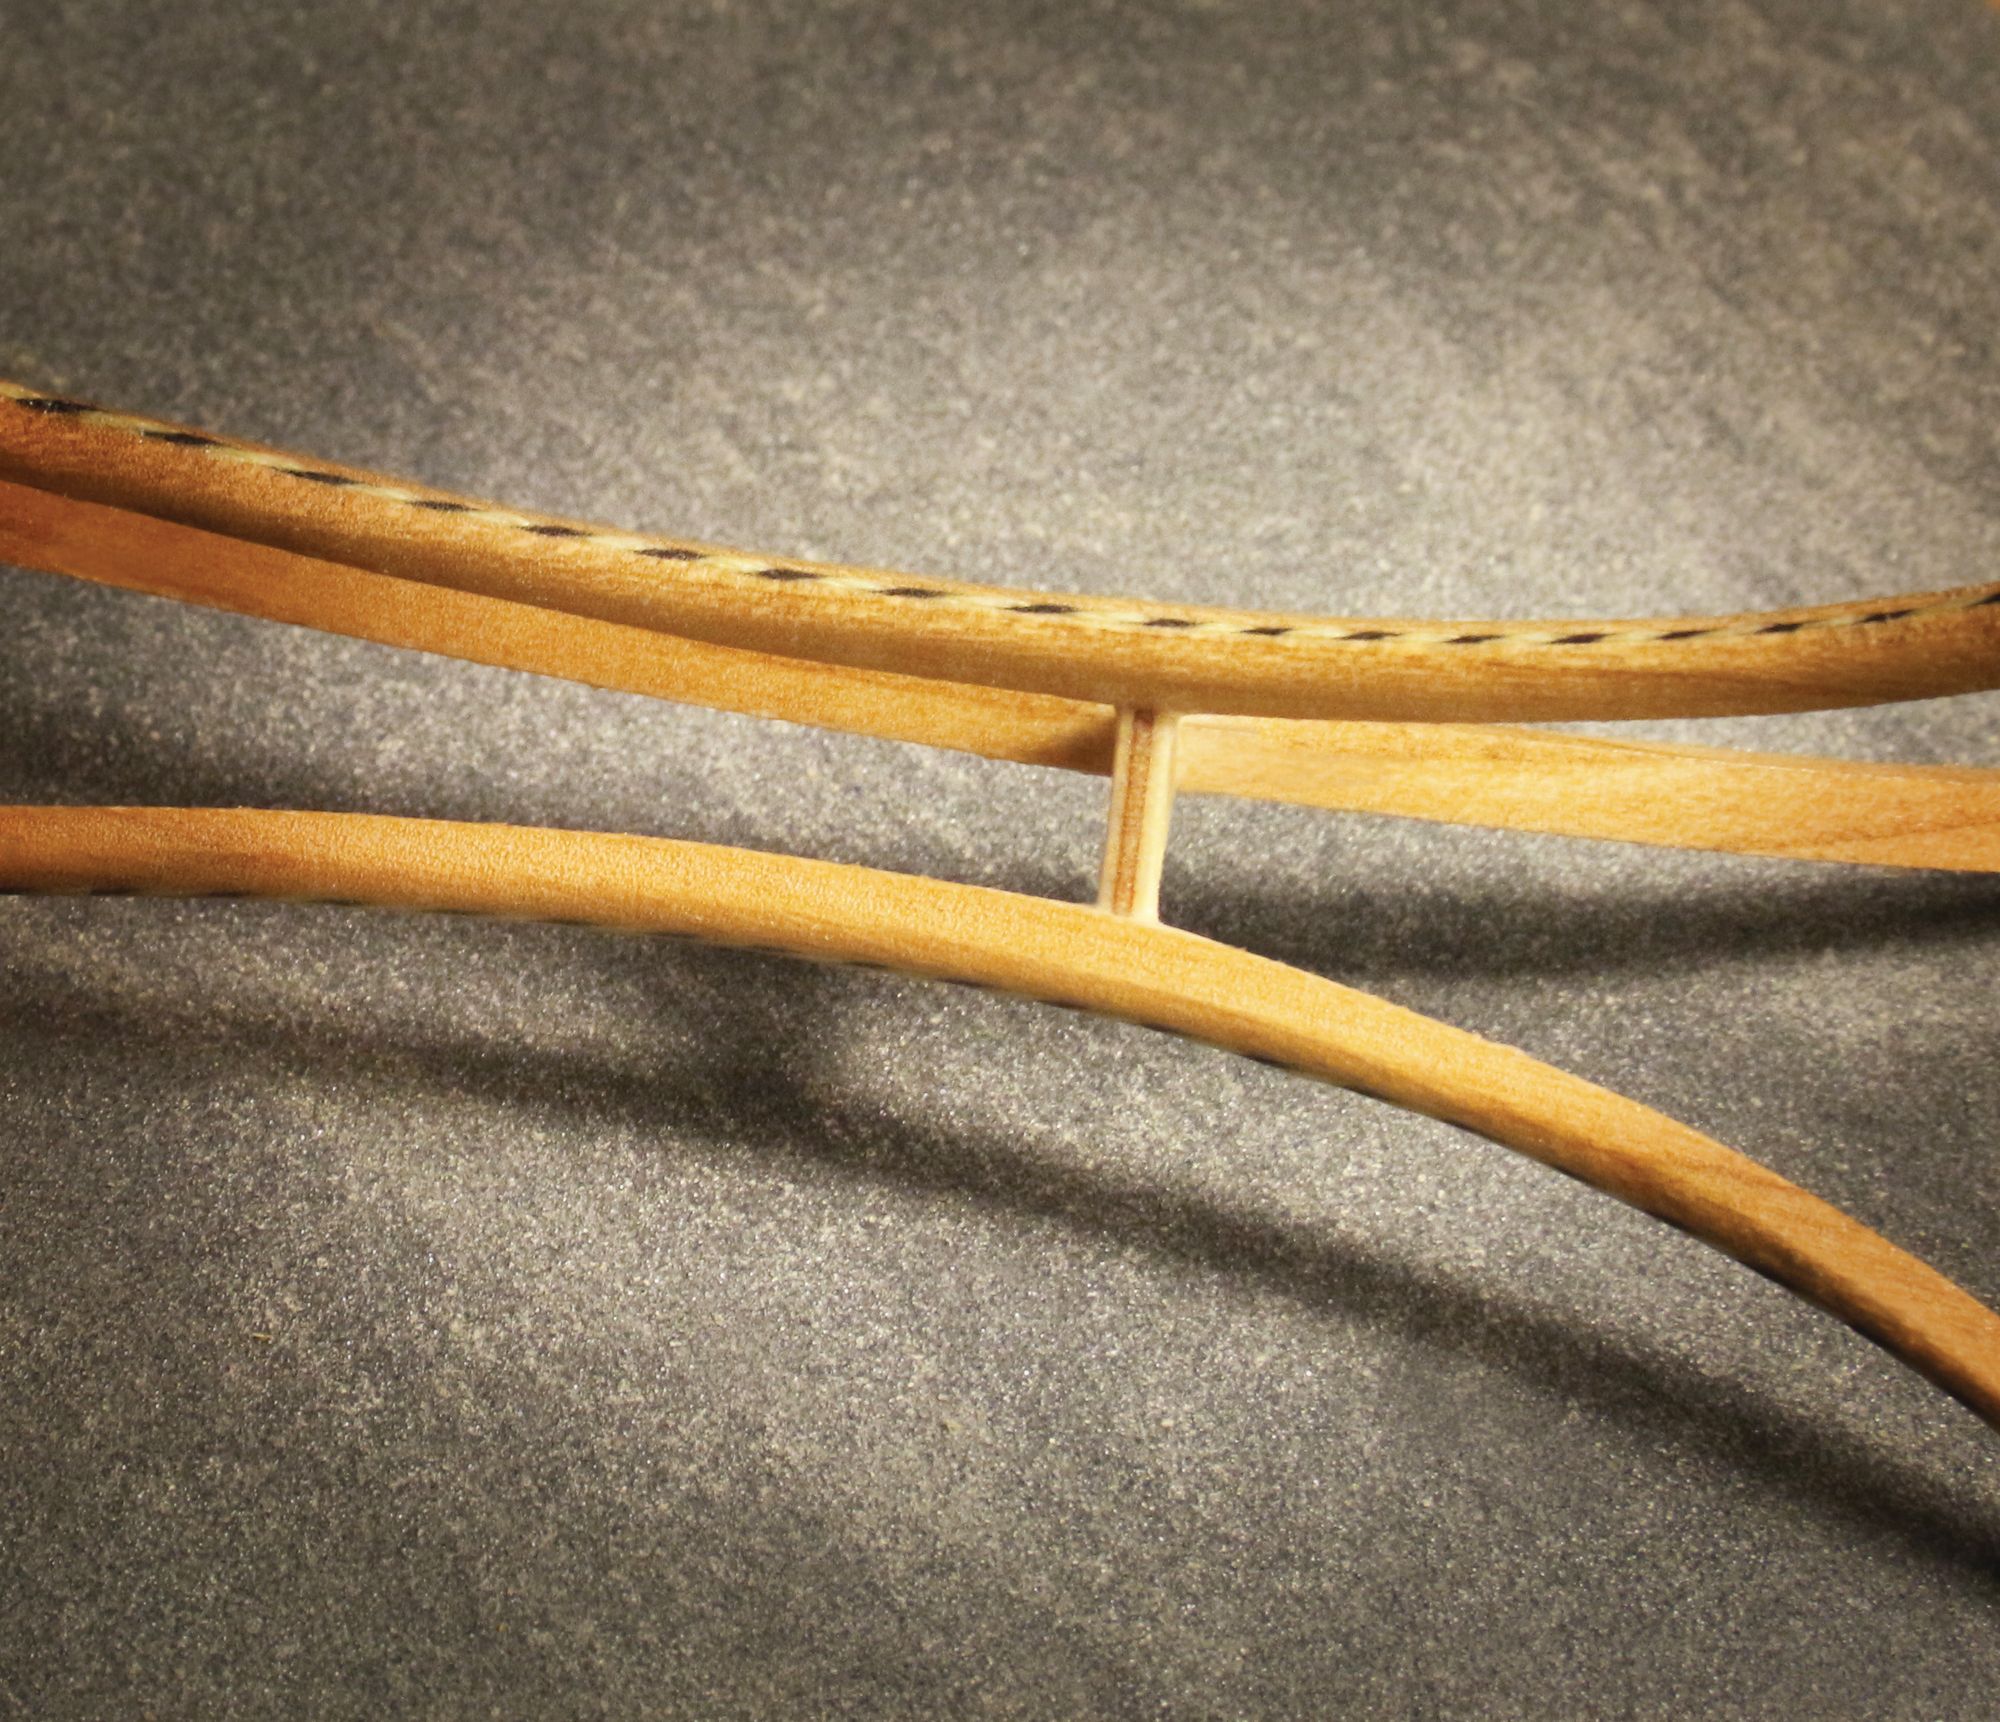
He shares his manner of creating the details on a recent project: “In creating miniatures we must be willing to entertain far reaches of possibility, and I find myself contemplating the elusive ‘what if’ very often. What if I could replicate a certain design element within a medium different than that employed by the original full sized piece of furniture? In other words, instead of using wood, what if I chose another material to accomplish a certain feature or desired element? Here is where I look for similarities in appearance, and then break down the attributes of the building process. For instance, on a recent edition called The Trio of Gueridon Tables, I wished to adorn three slender curved legs of each table with a decorative element.
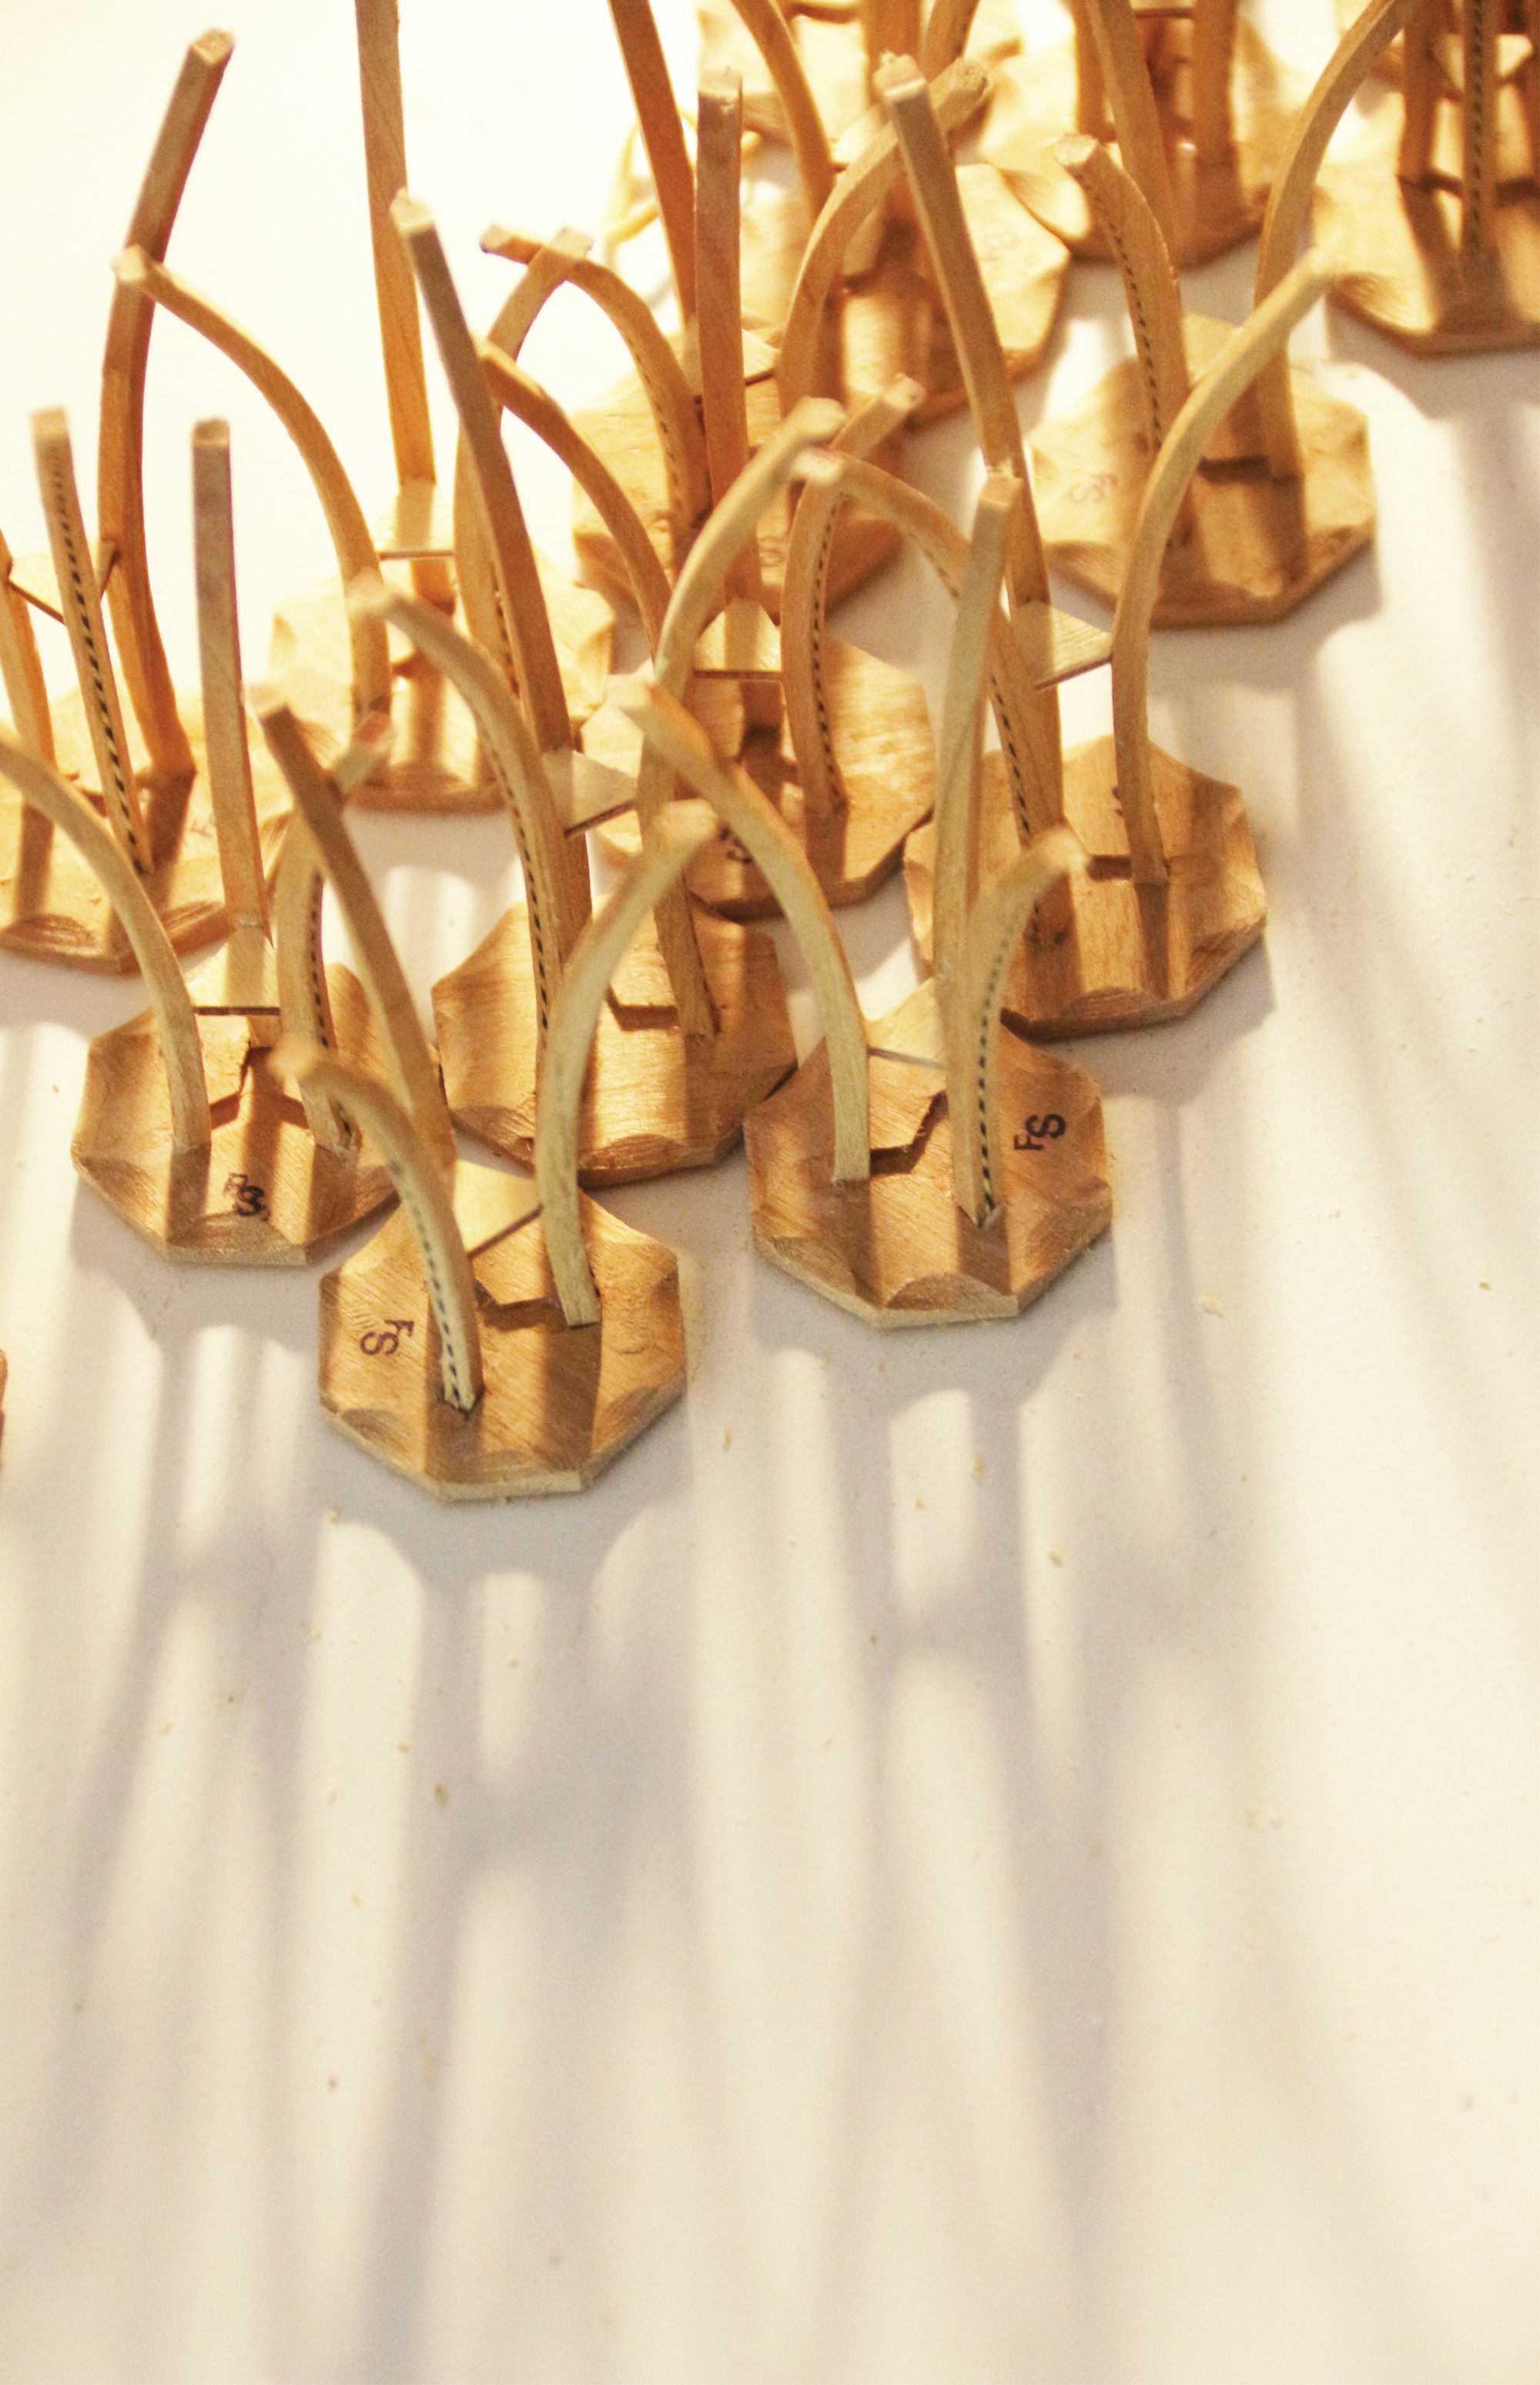
"I contemplated a number of solutions, but felt that their form would be best complimented with a contrasting surface design to draw the eye up and down the leg. What would serve this purpose, and yet remain viable in scale? It needed to be flexible, easy to create and equally reliable to insert within the slender legs. My solution must also be perfectly duplicatable on all nine legs of each of the staggered height tables within the trio. I needed to look beyond wood for suitable material for my solution.”
His thoughts took him to a simple pragmatic piece of thread. Although simply designed to hold together two sections of fabric, thread can do far more if employed as a decorative element. Just as thread may be used to lend an eye catching note to clothing edges, or specific areas of featured adornment, such as necklines, bodices, jackets, etc., when it is employed in miniature furniture, in a similar manner, thread may lend emphasis to certain furniture features by creating a delicate surface embellishment. Decorative thread is able to mimic in scale many of those decorative design elements of ornamentation seen in full sized pieces of furniture, and recreate them with stunning veracity in miniature.
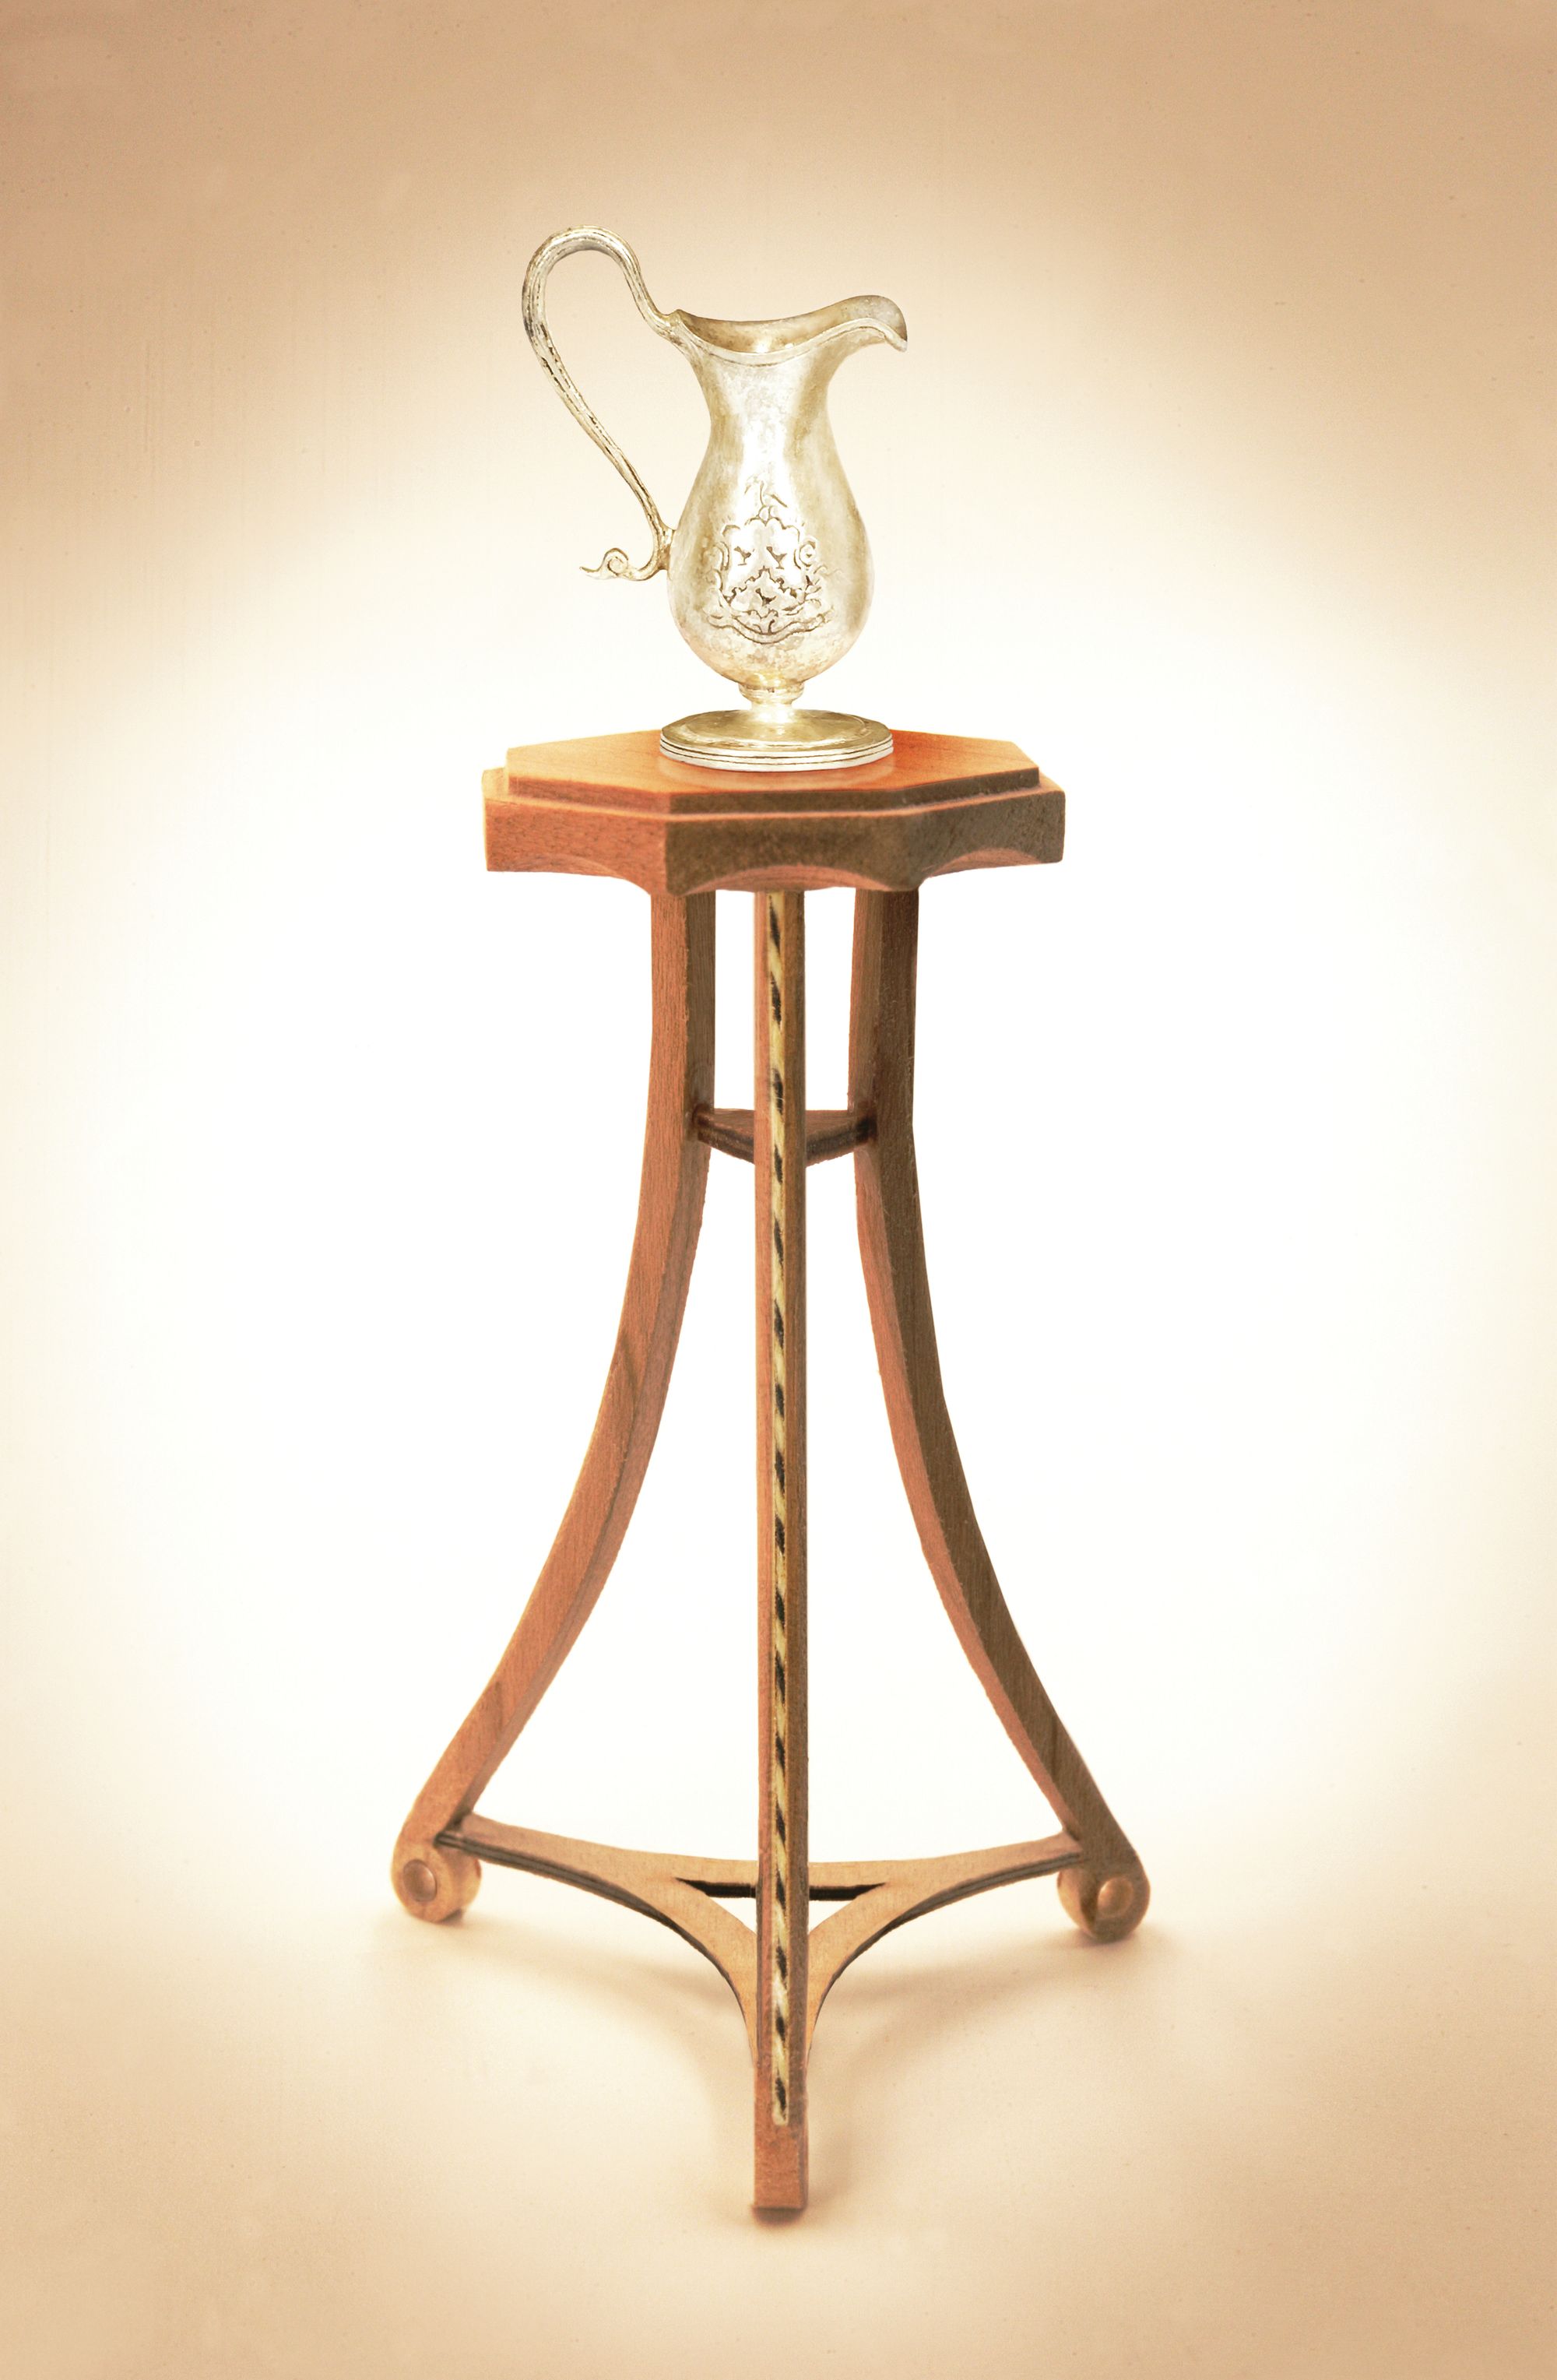
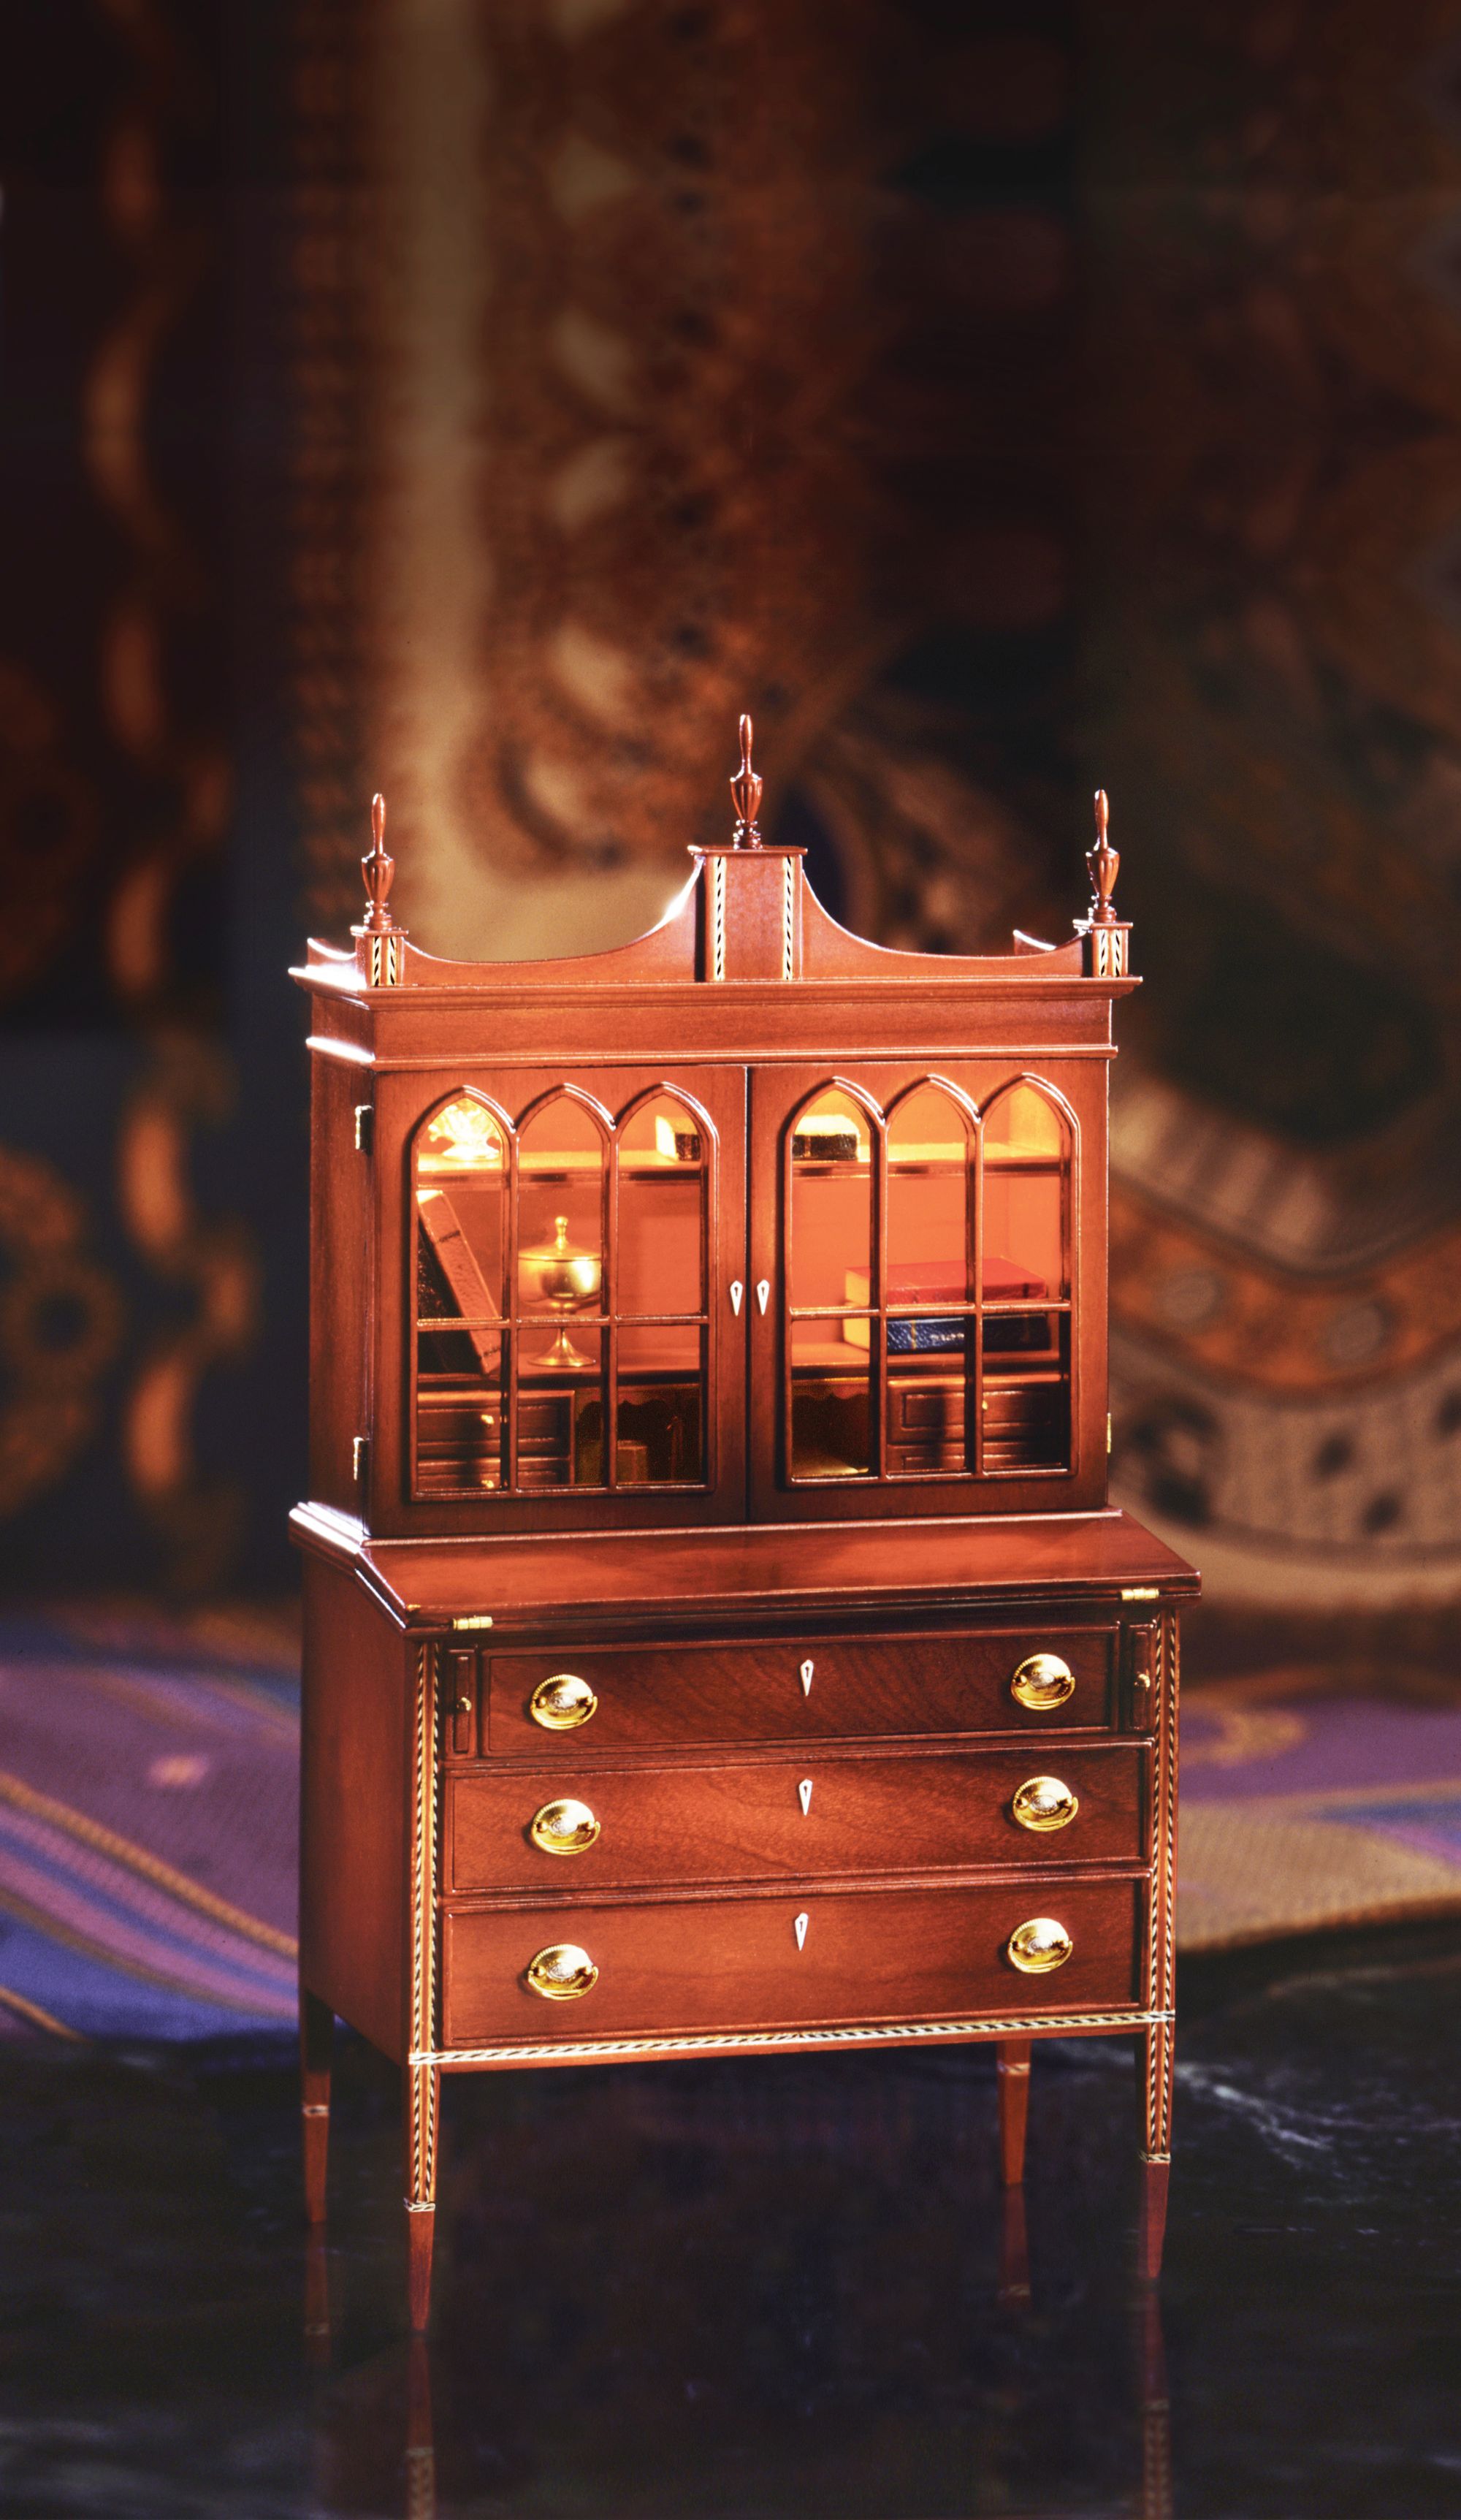
Ferd continues, “If I’m able to reliably twist a dark and light thread together with great precision, I would be able to insert it within a thin routed channel in my table legs. So I’ve arrived at a dark and light petite twisted string inlay to detail each leg. This particular appointment has historical roots in numerous pieces of eighteenth century fine furniture. The master craftsman George Hepplewhite widely used this type of inlay on his cabinets and tables. In fact I have used this technique in the past on my Hepplewhite Secretary, and I also have a detailed DIY tutorial about creating string inlay in my latest book Commitment to Excellence - The Ferd Sobol Editions. I would like to invite you to give this detailing a try on your next building project.”
If you do choose to try your hand at miniature string inlay, please recall that the utmost attention to the smallest of details will ultimately yield the best results. You may wish to explore various colours and a varying number of different threads, and because it is such a flexible medium you may wish to curve your inlay or even lay it in a full circle, perhaps to adorn a round tabletop. You may also wish to change direction of the inlay to move the eye exactly where you wish it to note significant features worthy of admiration. The options are endless, so allow your imagination to be the same. Keep in mind that the sky is the limit with the string inlay method of surface adornment, only to be determined by your time, patience and willingness to pay attention to those many glorious details.
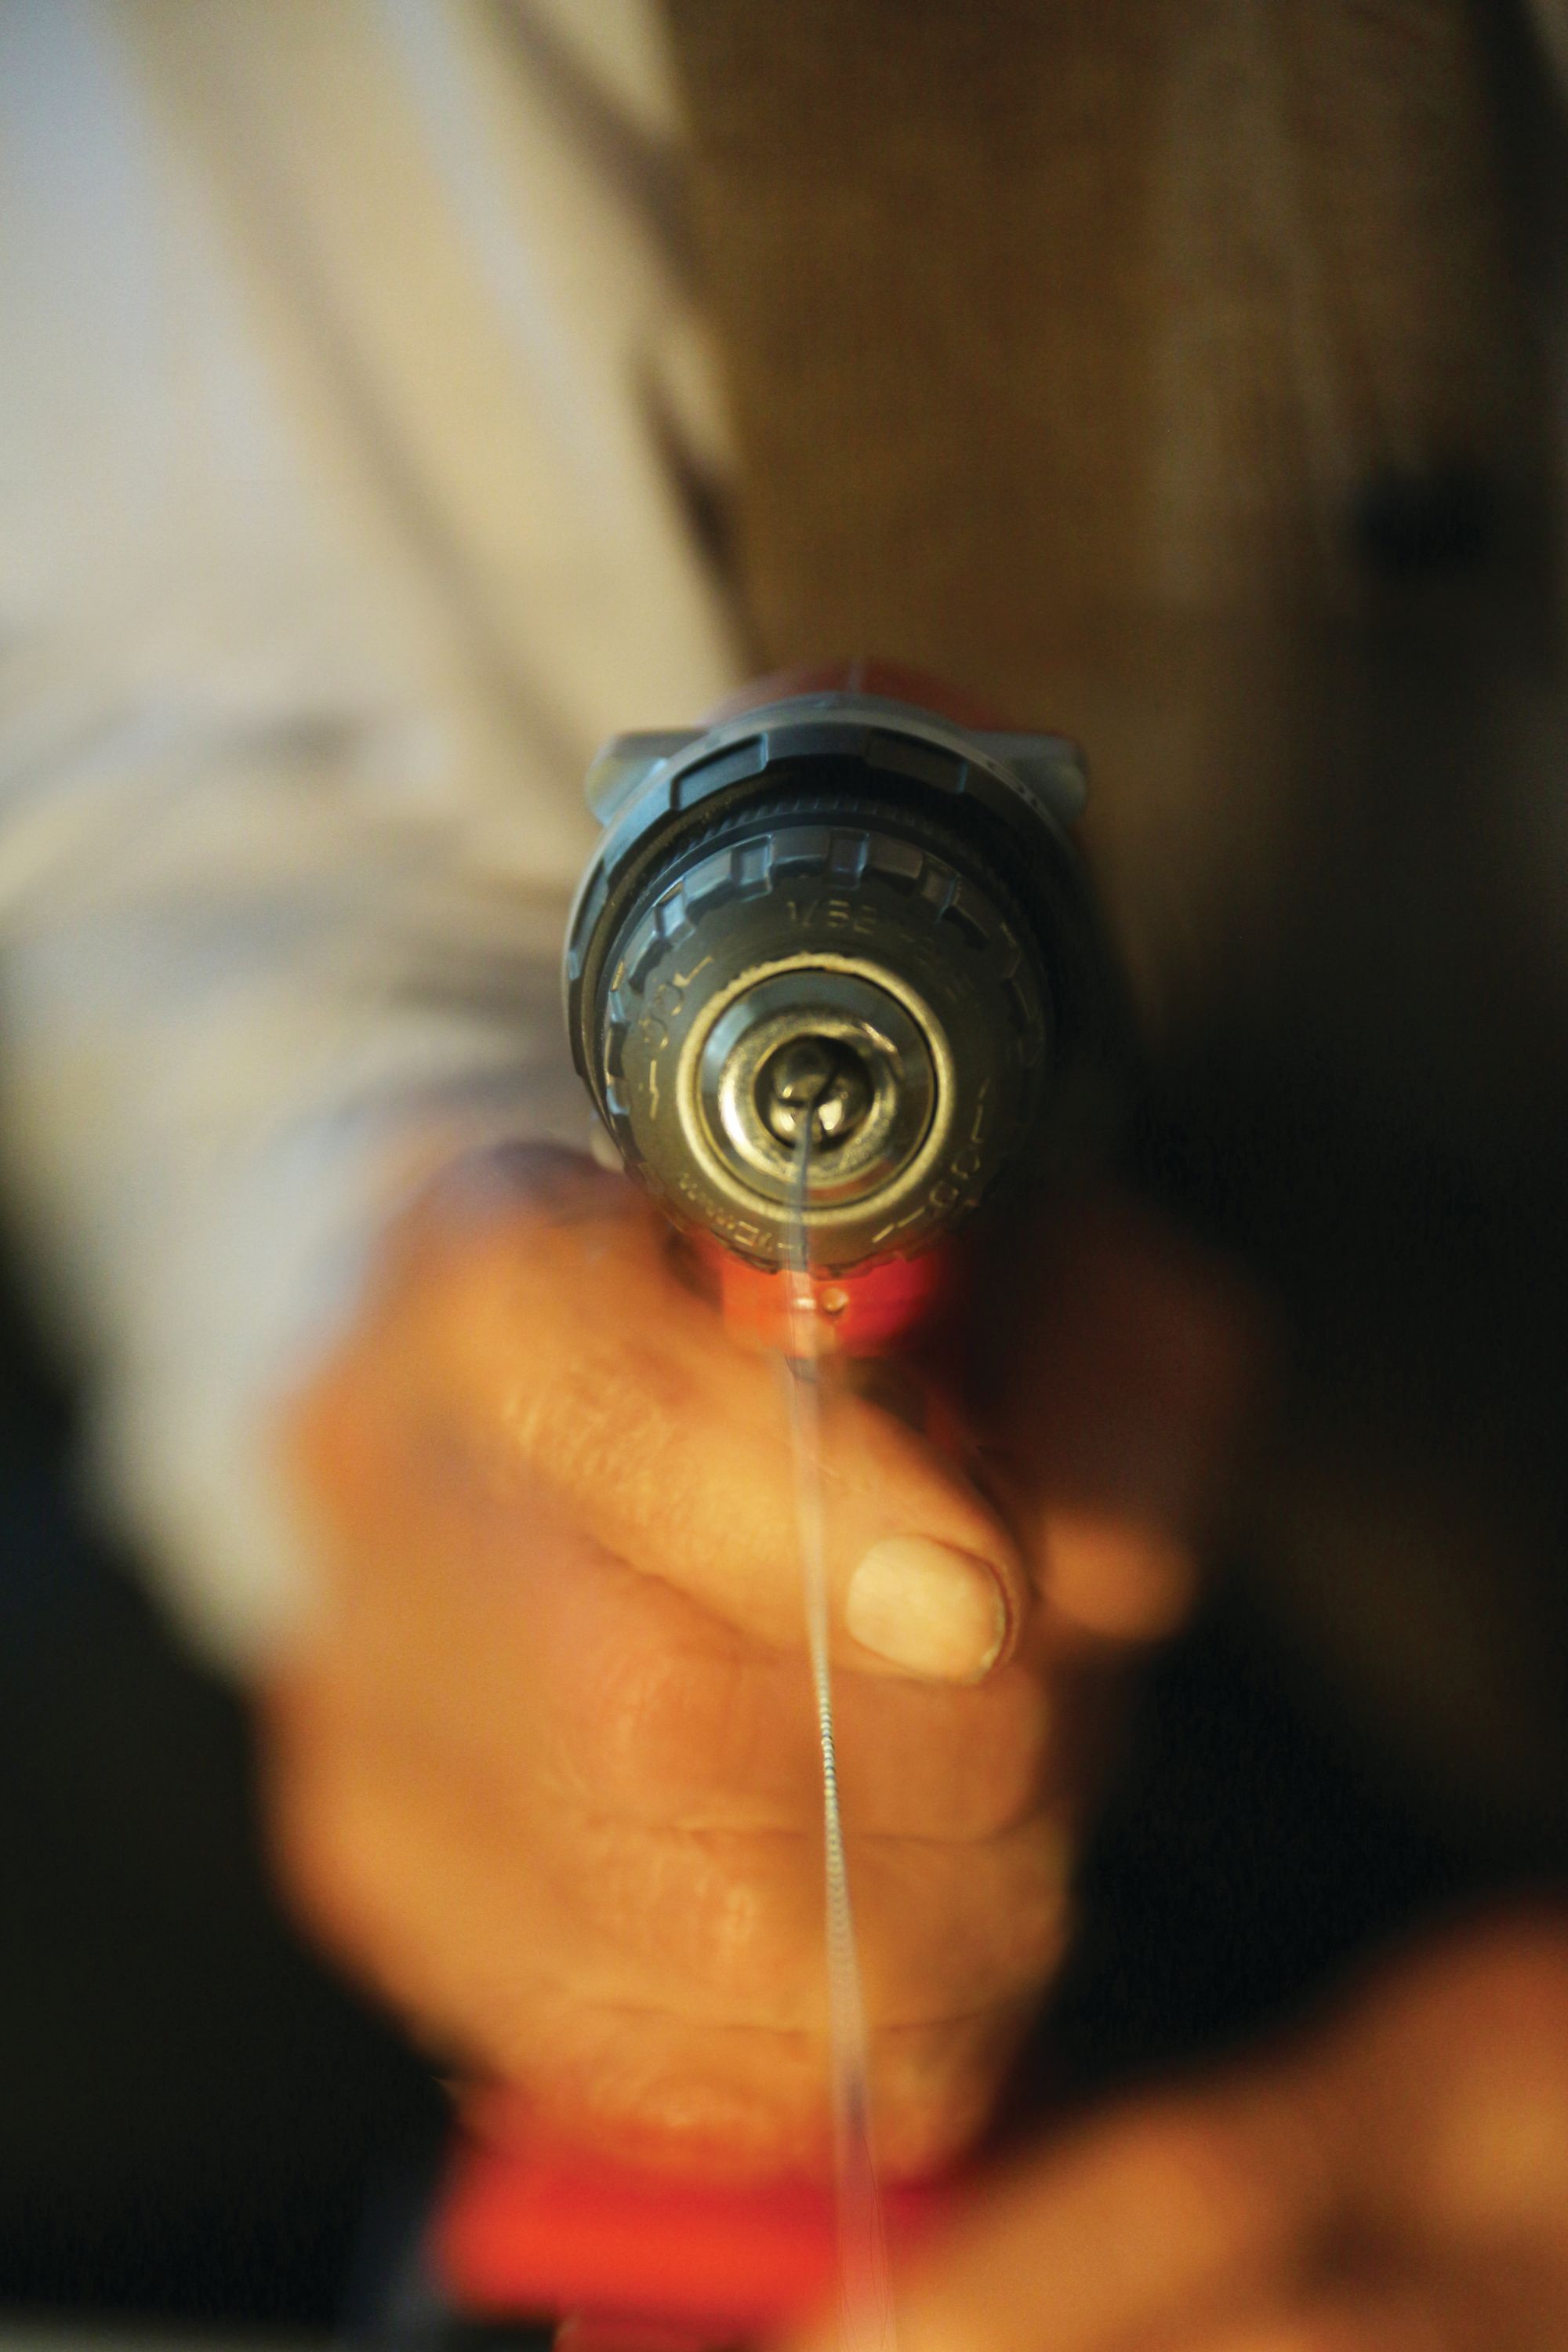
Step 1: Still on their separate spools, Ferd starts with a dark and light matching weight thread, that are tied together and inserted into the drill chuck opening. Depending upon the length needed, he backs a distance away from the spools and slowly starts the drill. Keeping the drill steady and at an even speed helps to maintain the amount of needed tautness and resultant tightness of the thread twist. Ferd aims at every section of thread being identical.
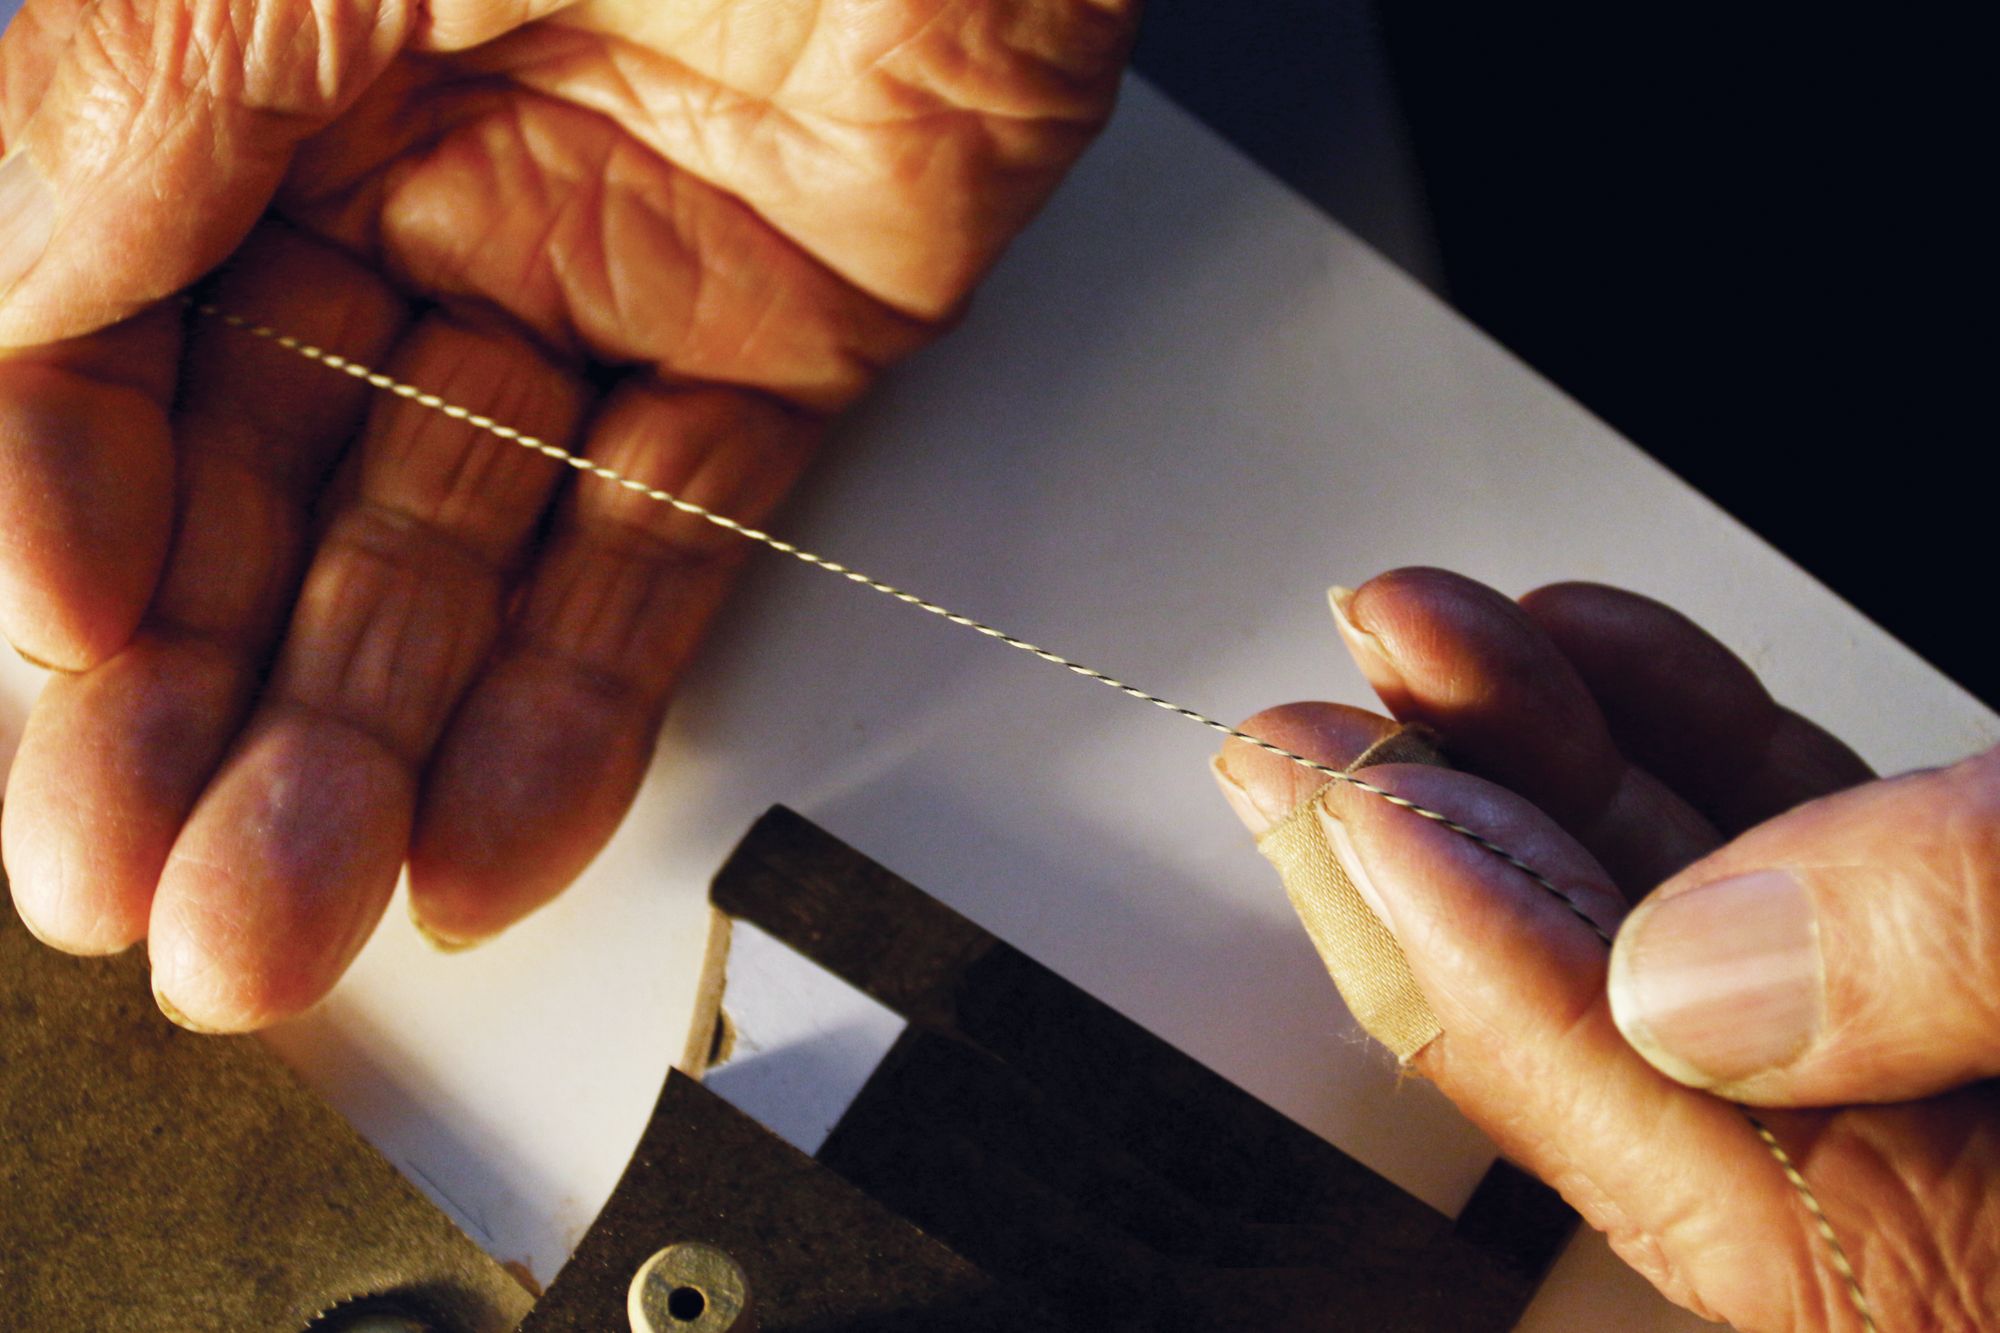
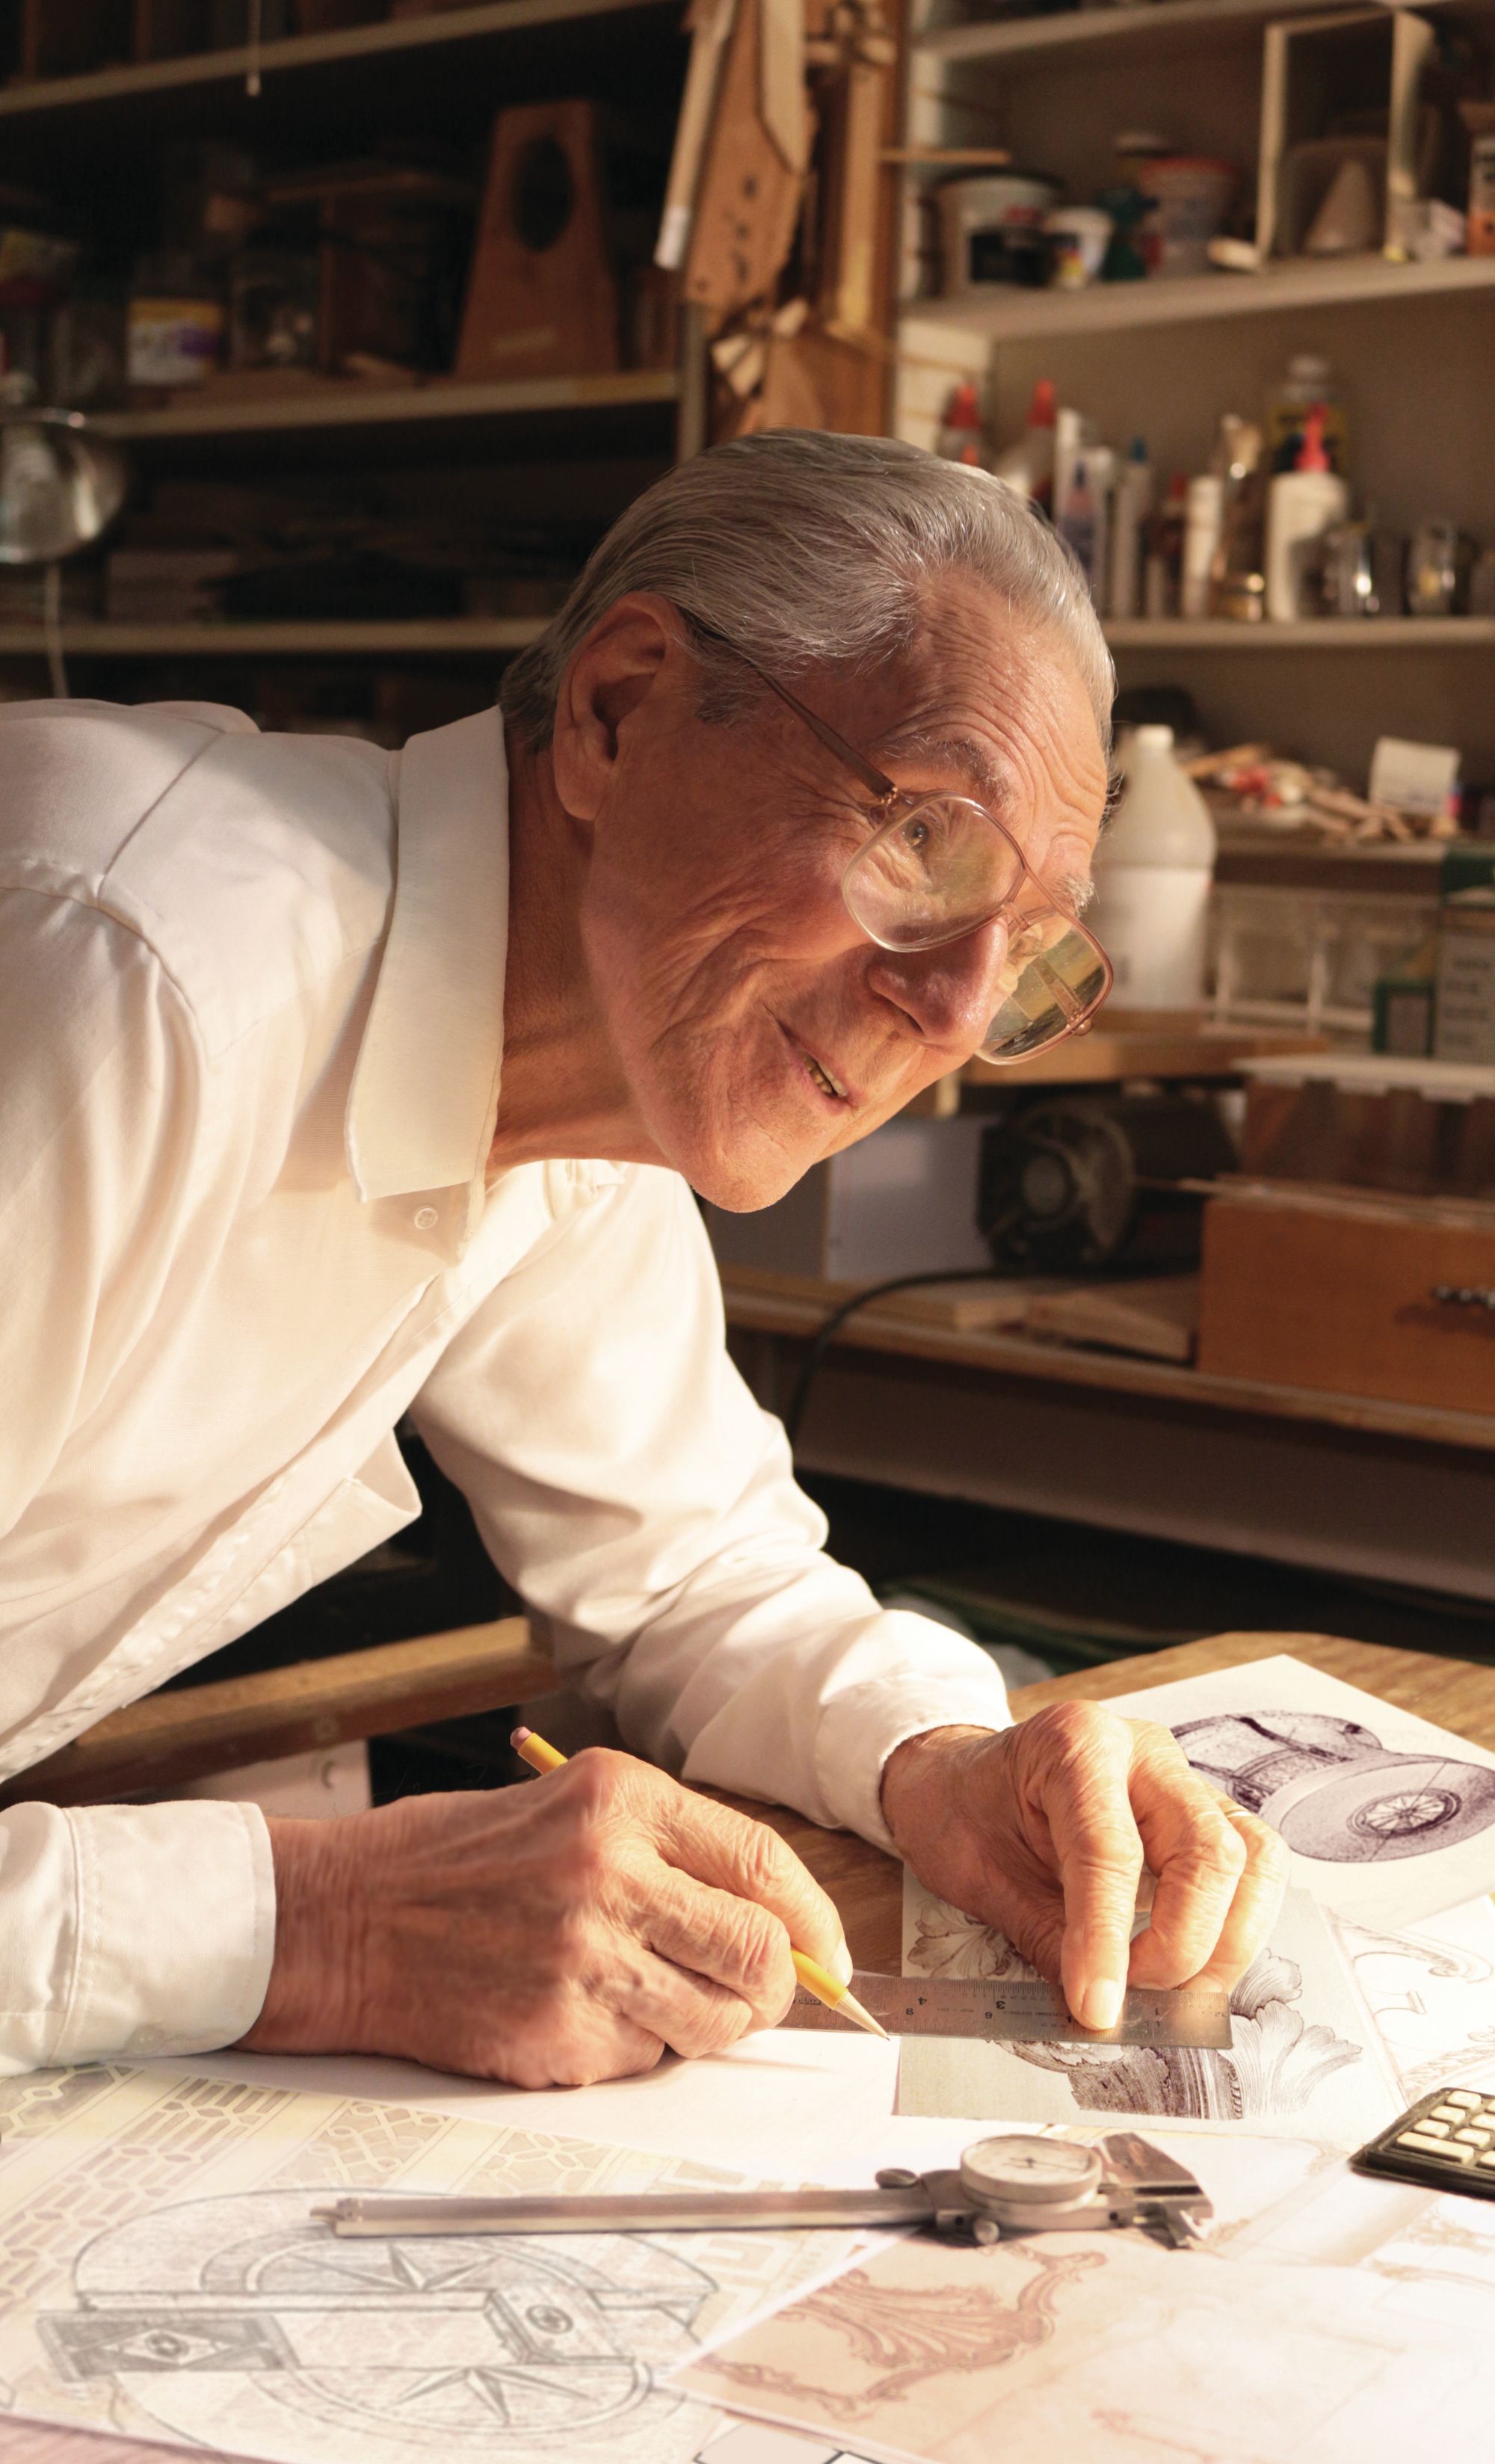
Step 2: Ferd holds the string inlay, closely examining it for a consistent twist pattern of seven complete turns per each running inch. This ratio works well with his scaled tables.
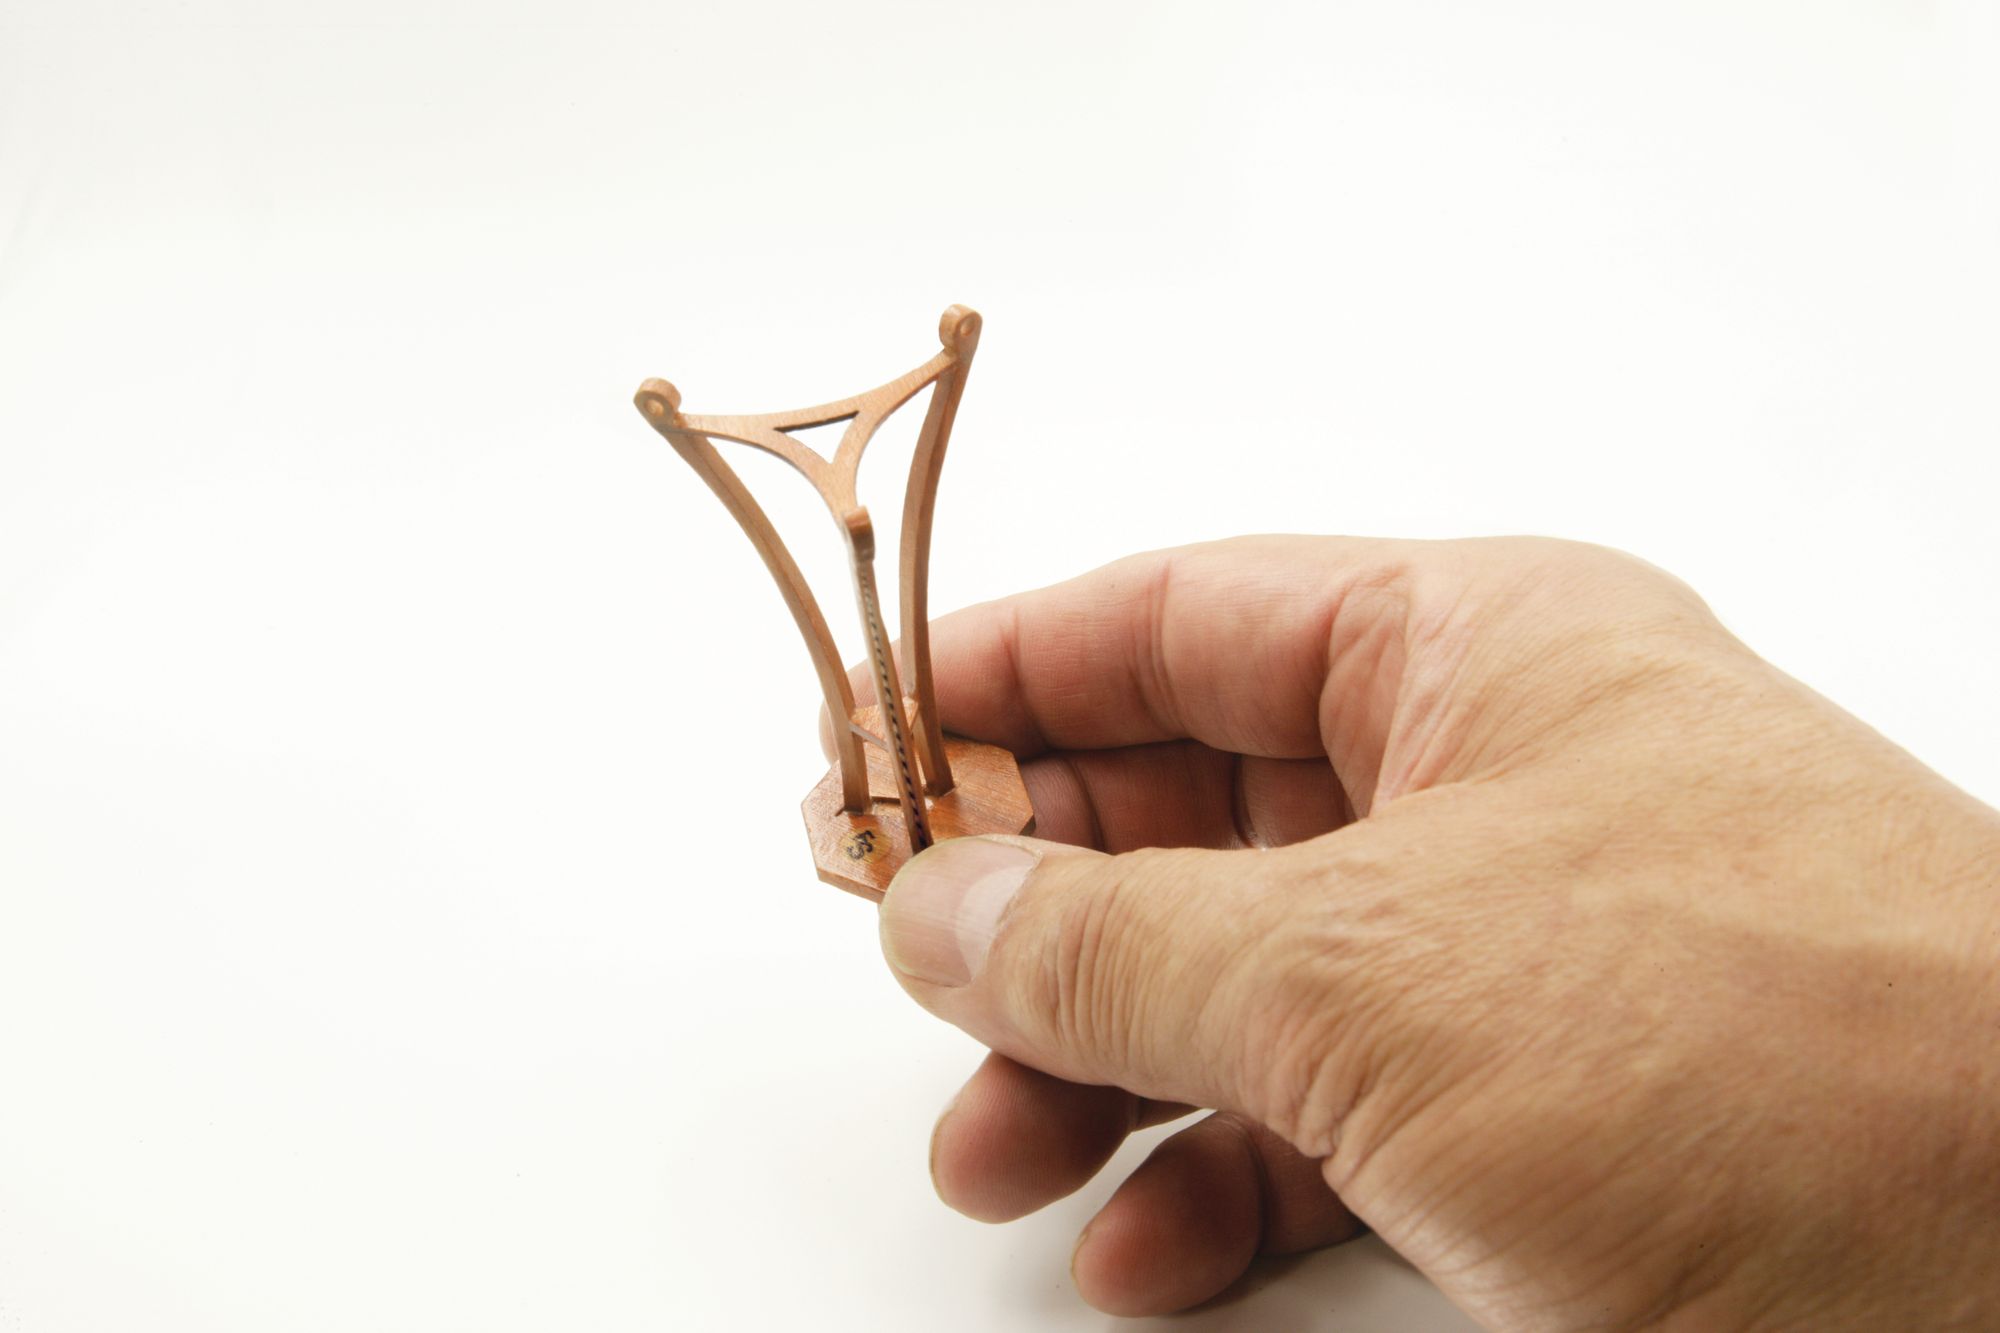
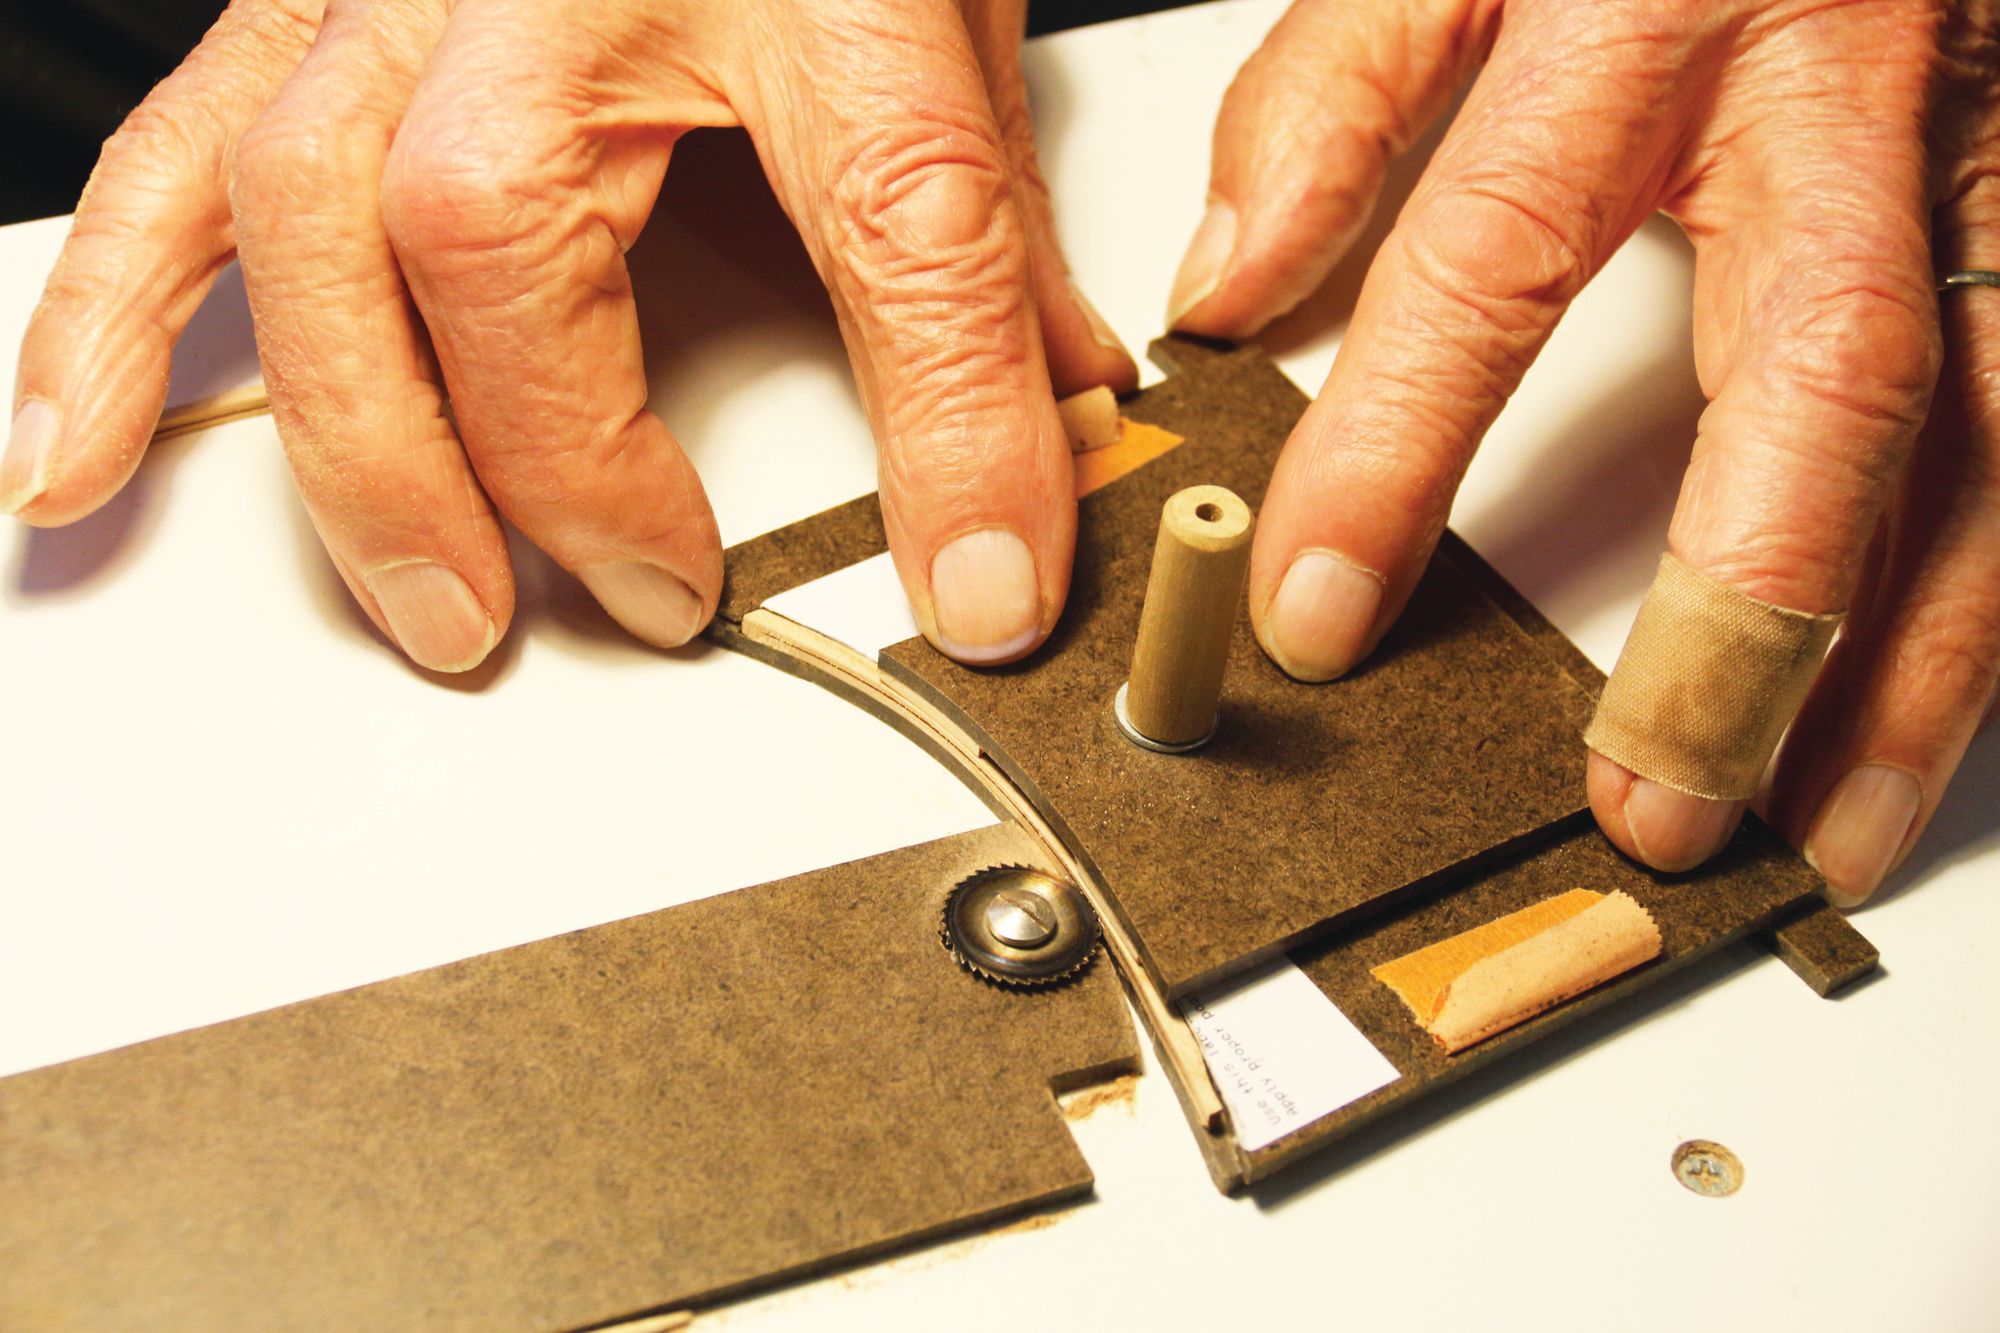
Step 3: With the table leg braced within a cutting jig, a tiny saw blade creates a petite channel for the string inlay. It must be deep enough to allow for both threads and glue.
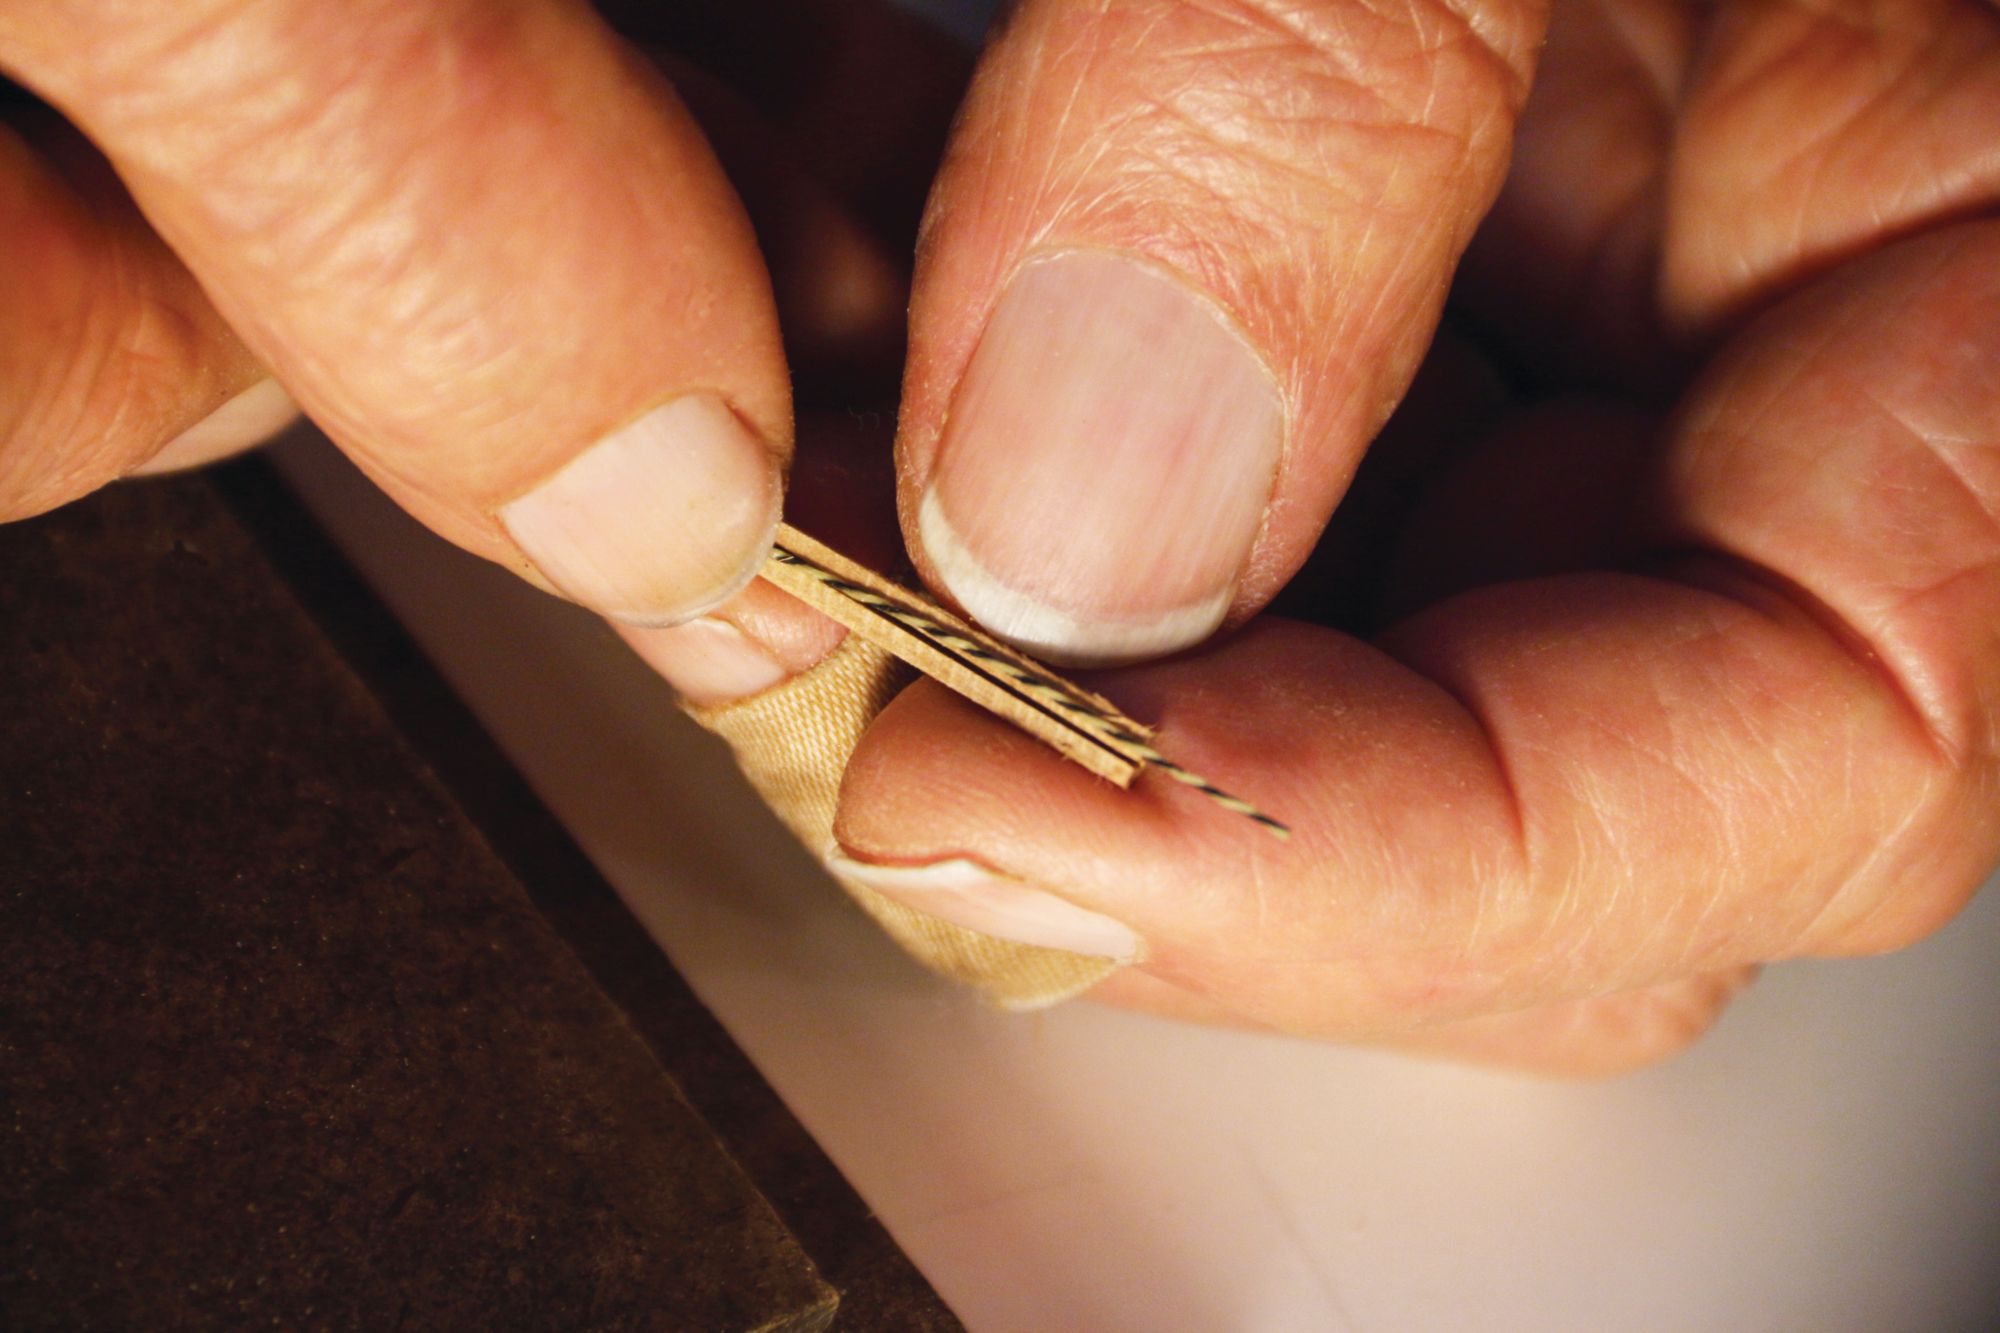
Step 4: Ferd uses a watered down wood glue slid across the threads with his fingers to anchor them together. When dry he carefully slides a section of the string inlay into each leg channel.
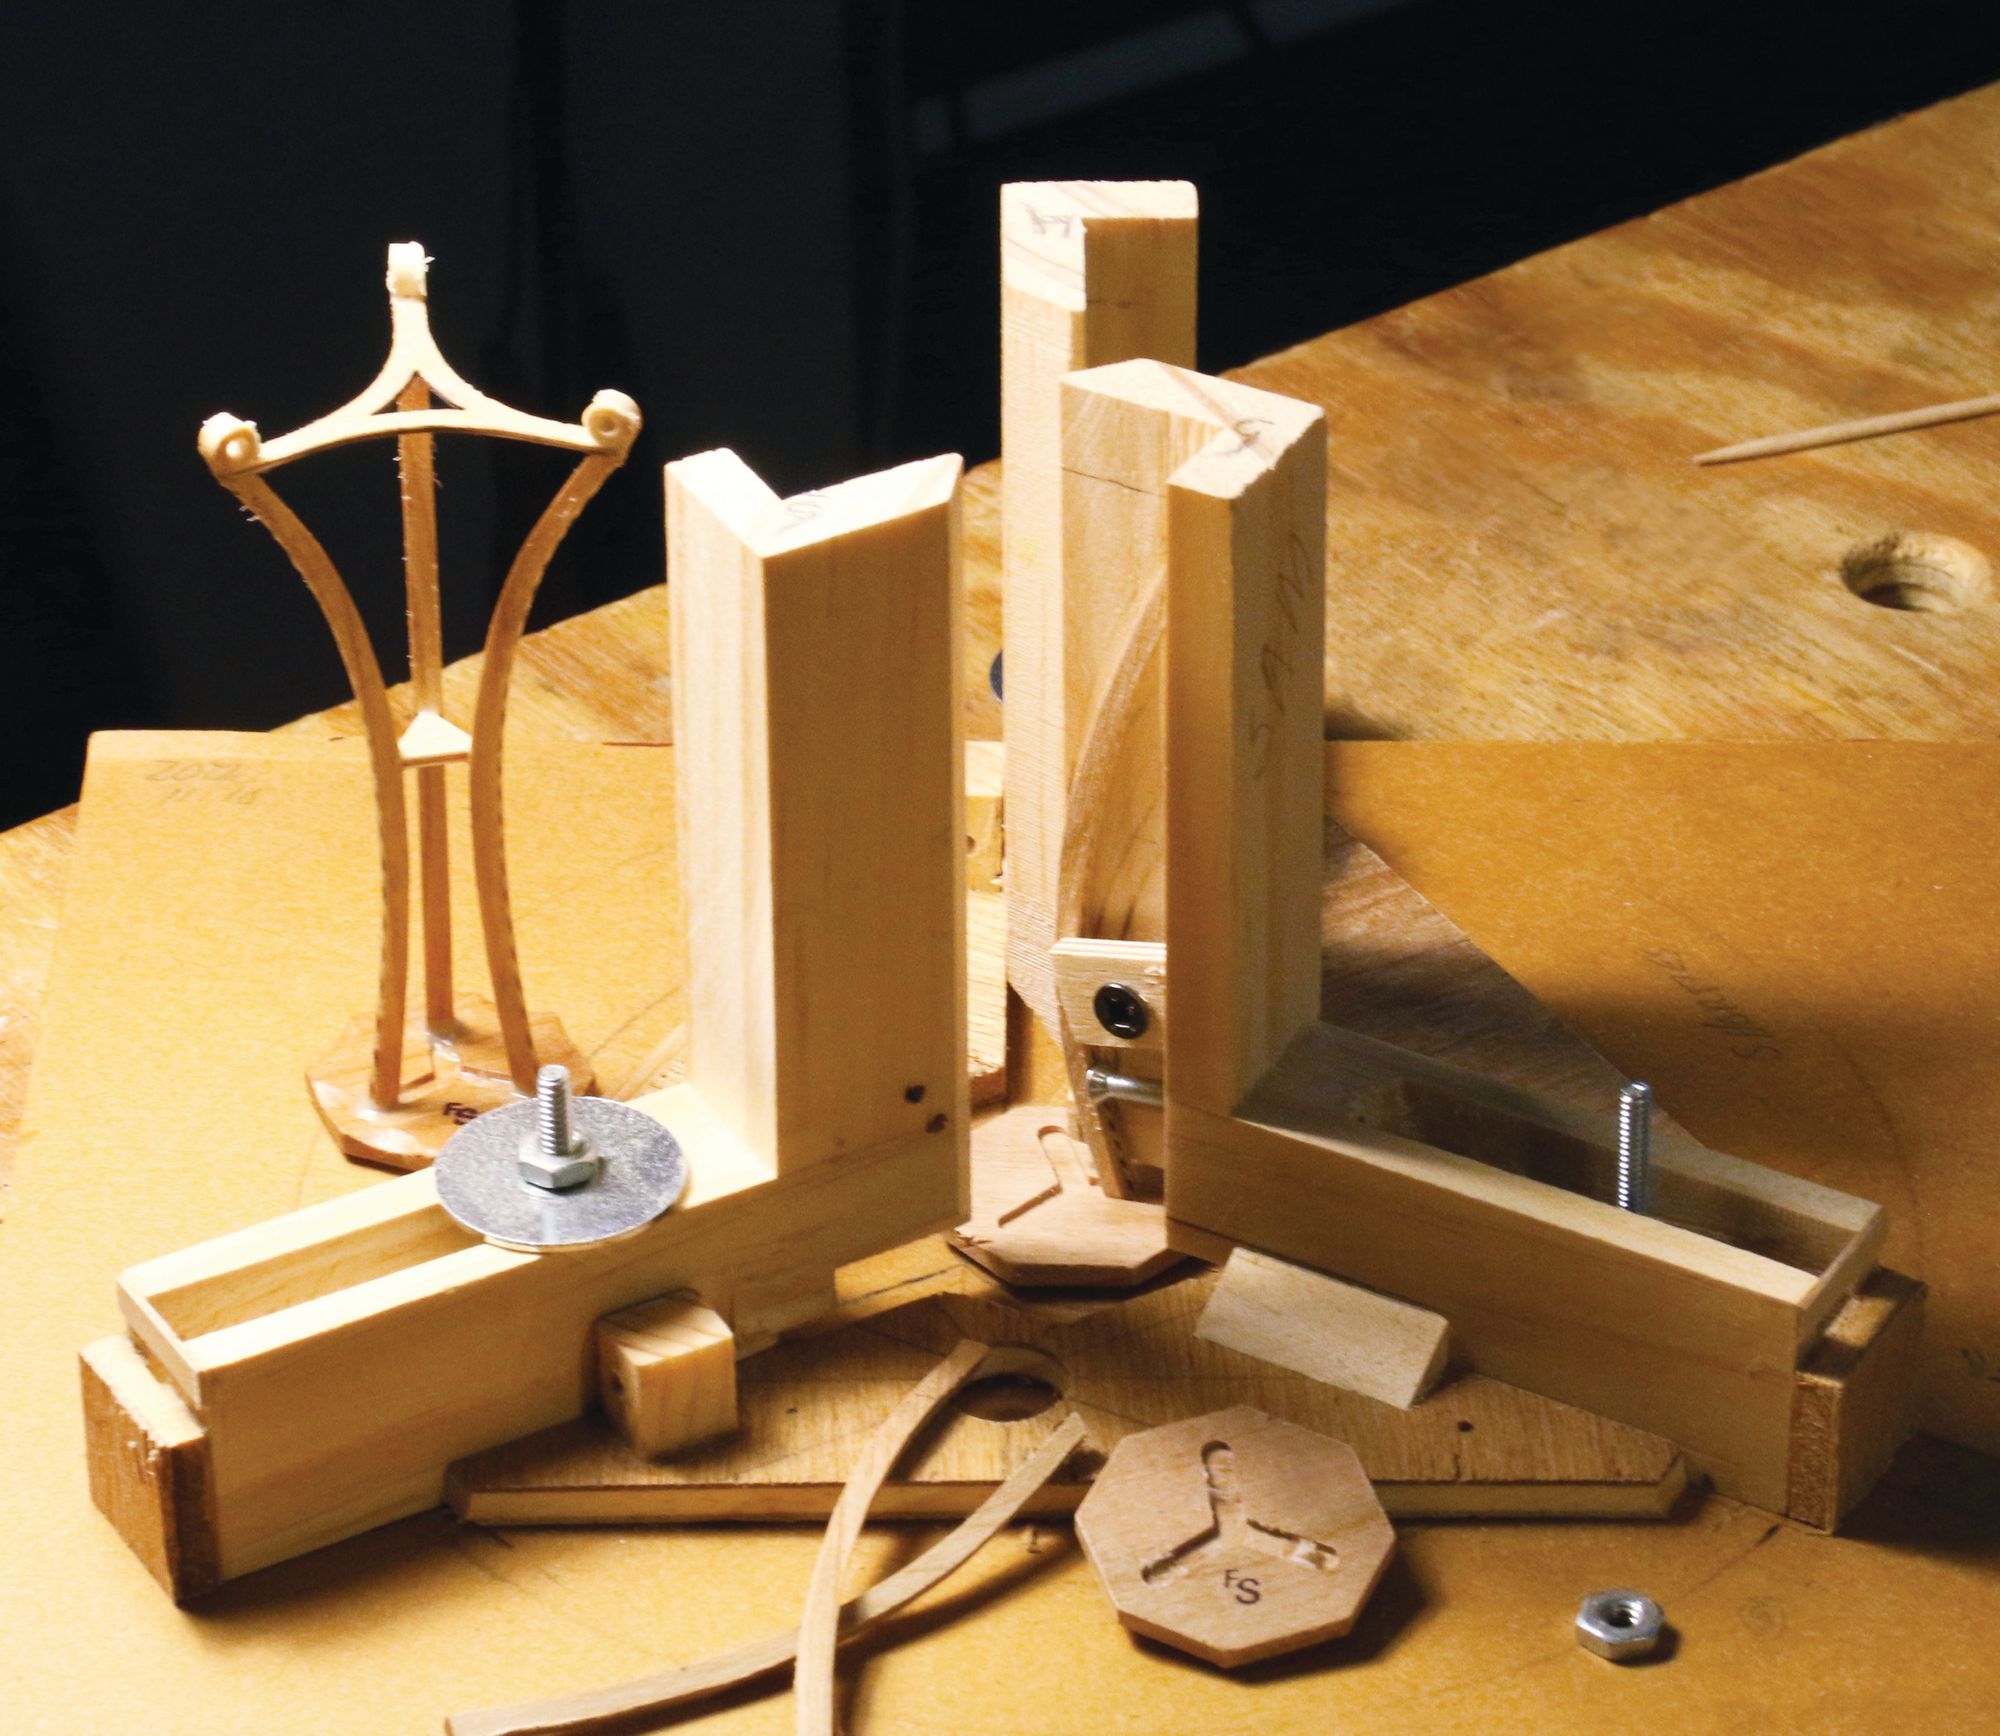
Step 5: After the string inlay has been inserted into the three legs, they are then assembled with a jig that perfectly angles the varied lengths of the small, medium and tall table legs with exact precision.
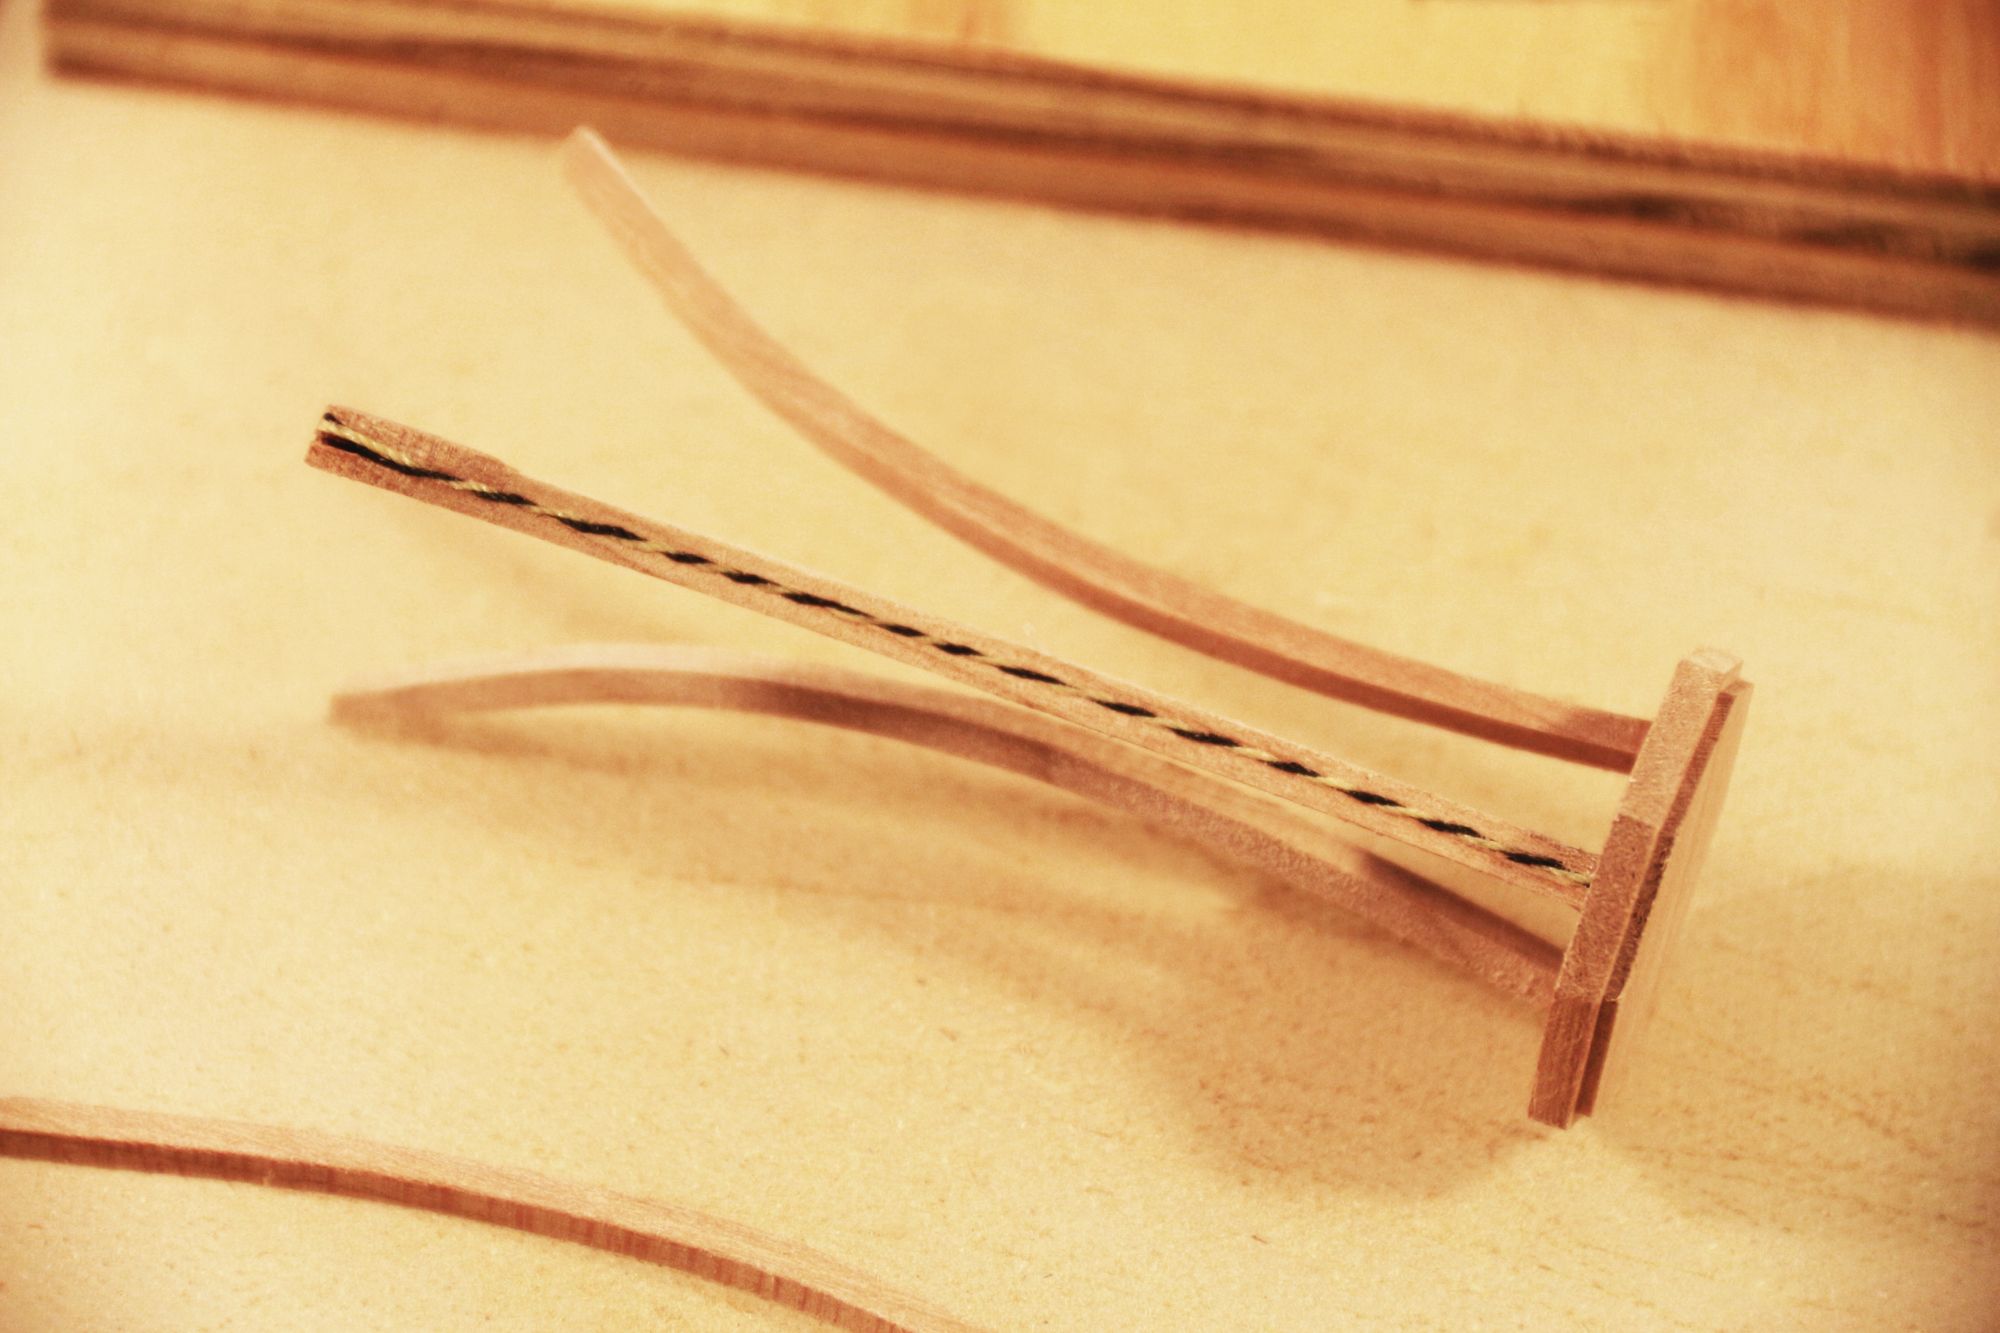
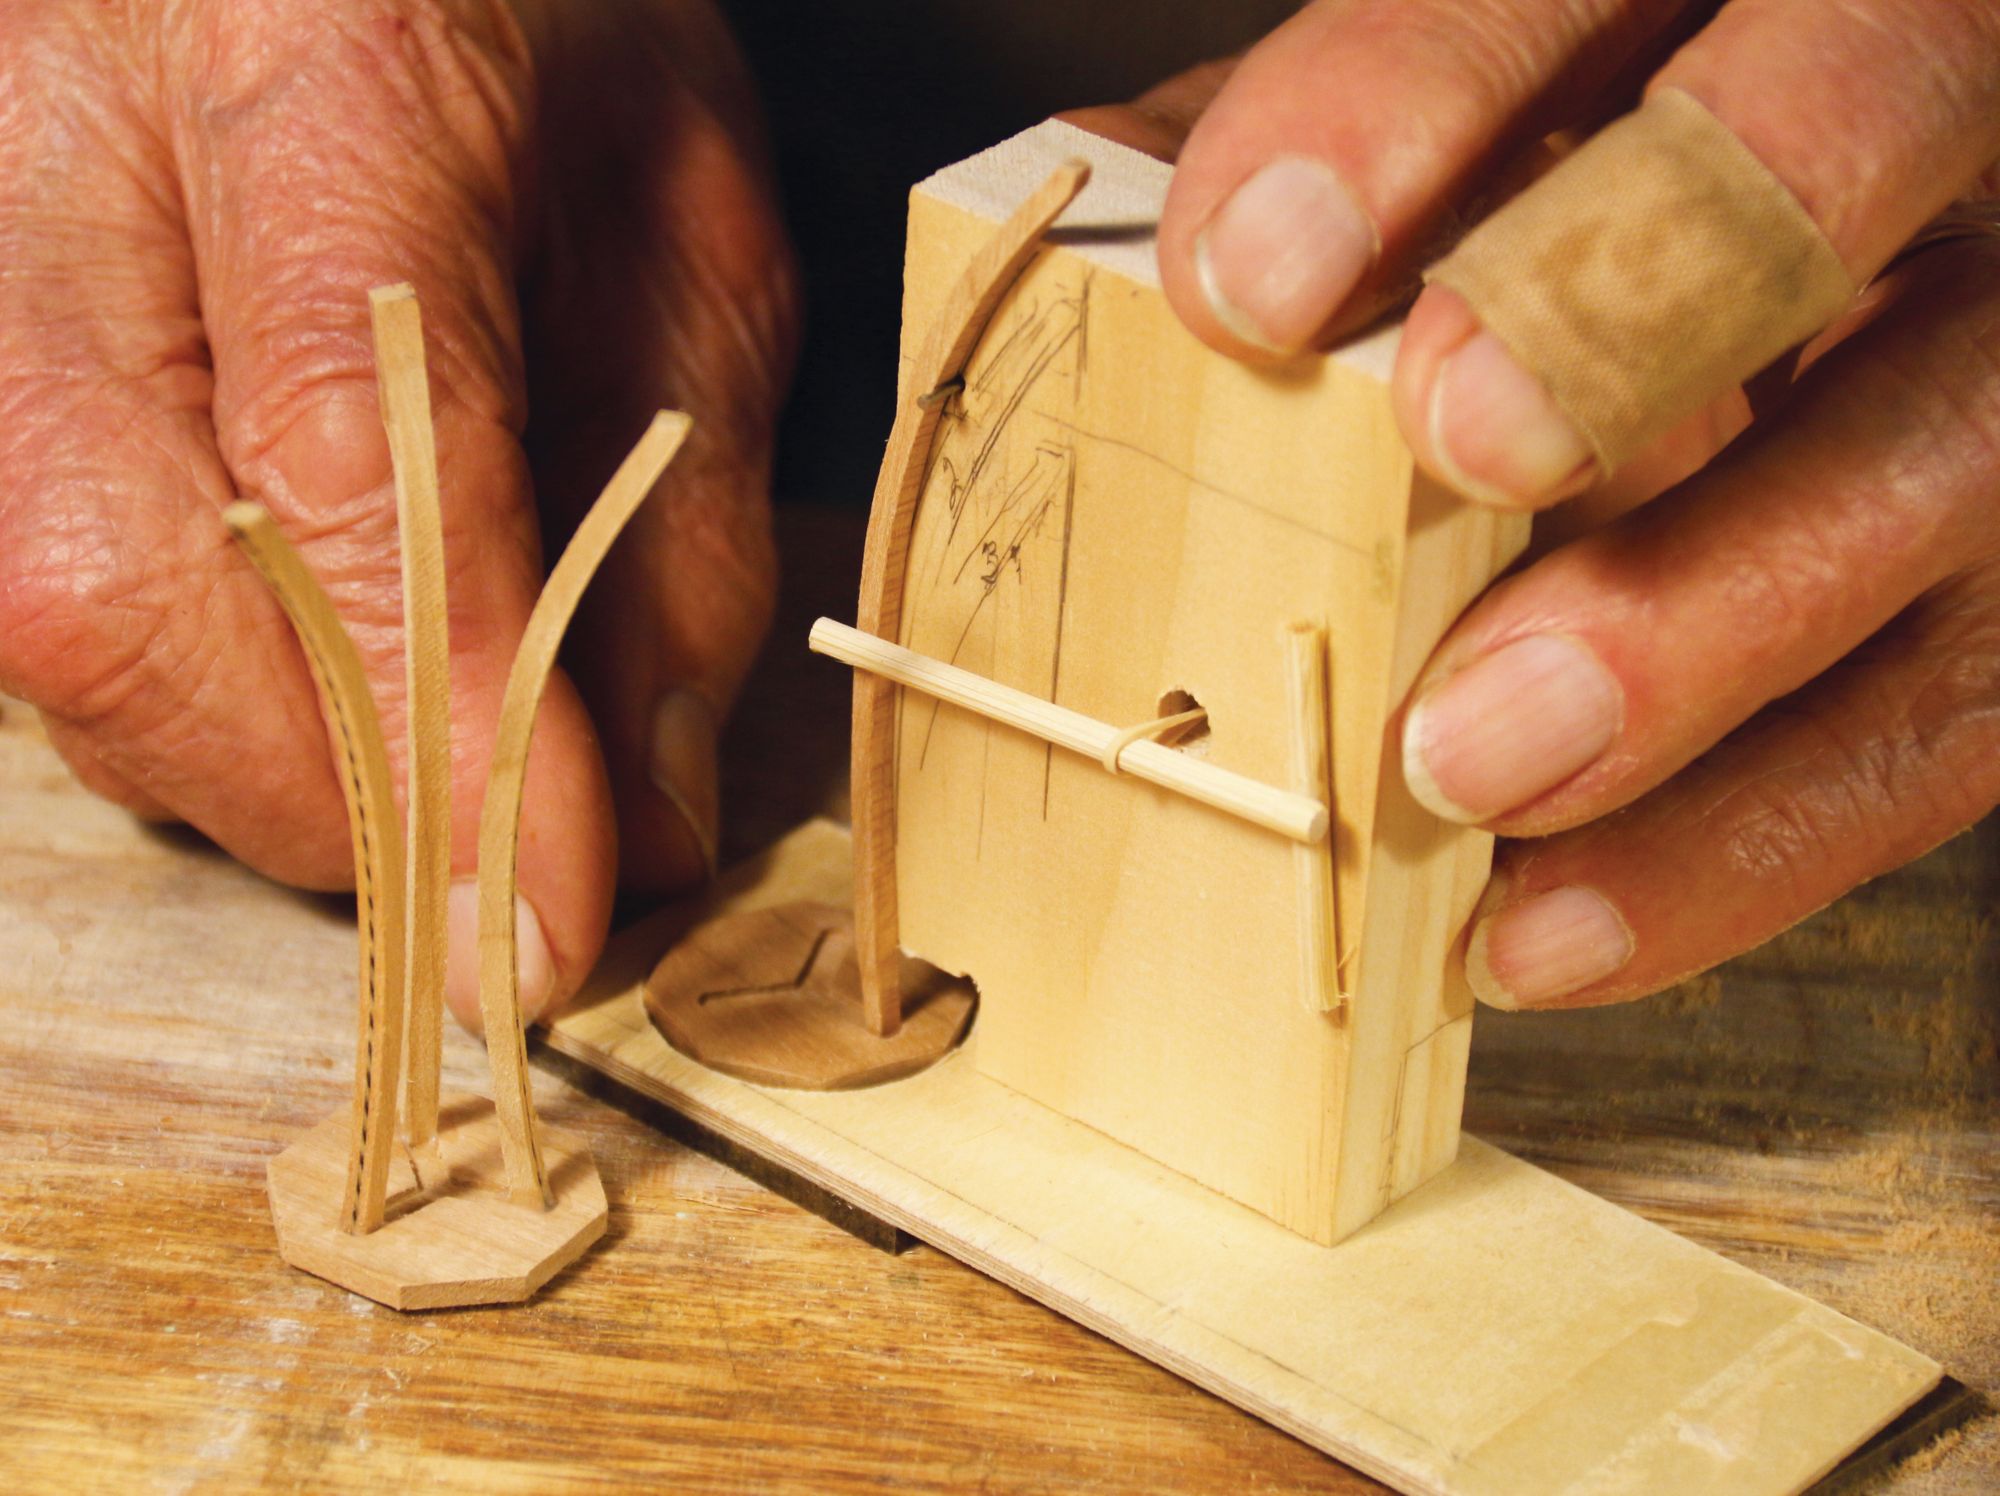
Step 6: With the string in place, Ferd forces a small amount of glue to be spatula pressed into the channel. After it dries, he then sands off any excess glue.
Step 7: Central leg bracers are then glued in place as a small shelf between the trio of legs.
Step 8: Before the very delicate see through feet are added, the remainder of the base is assembled and sanded.
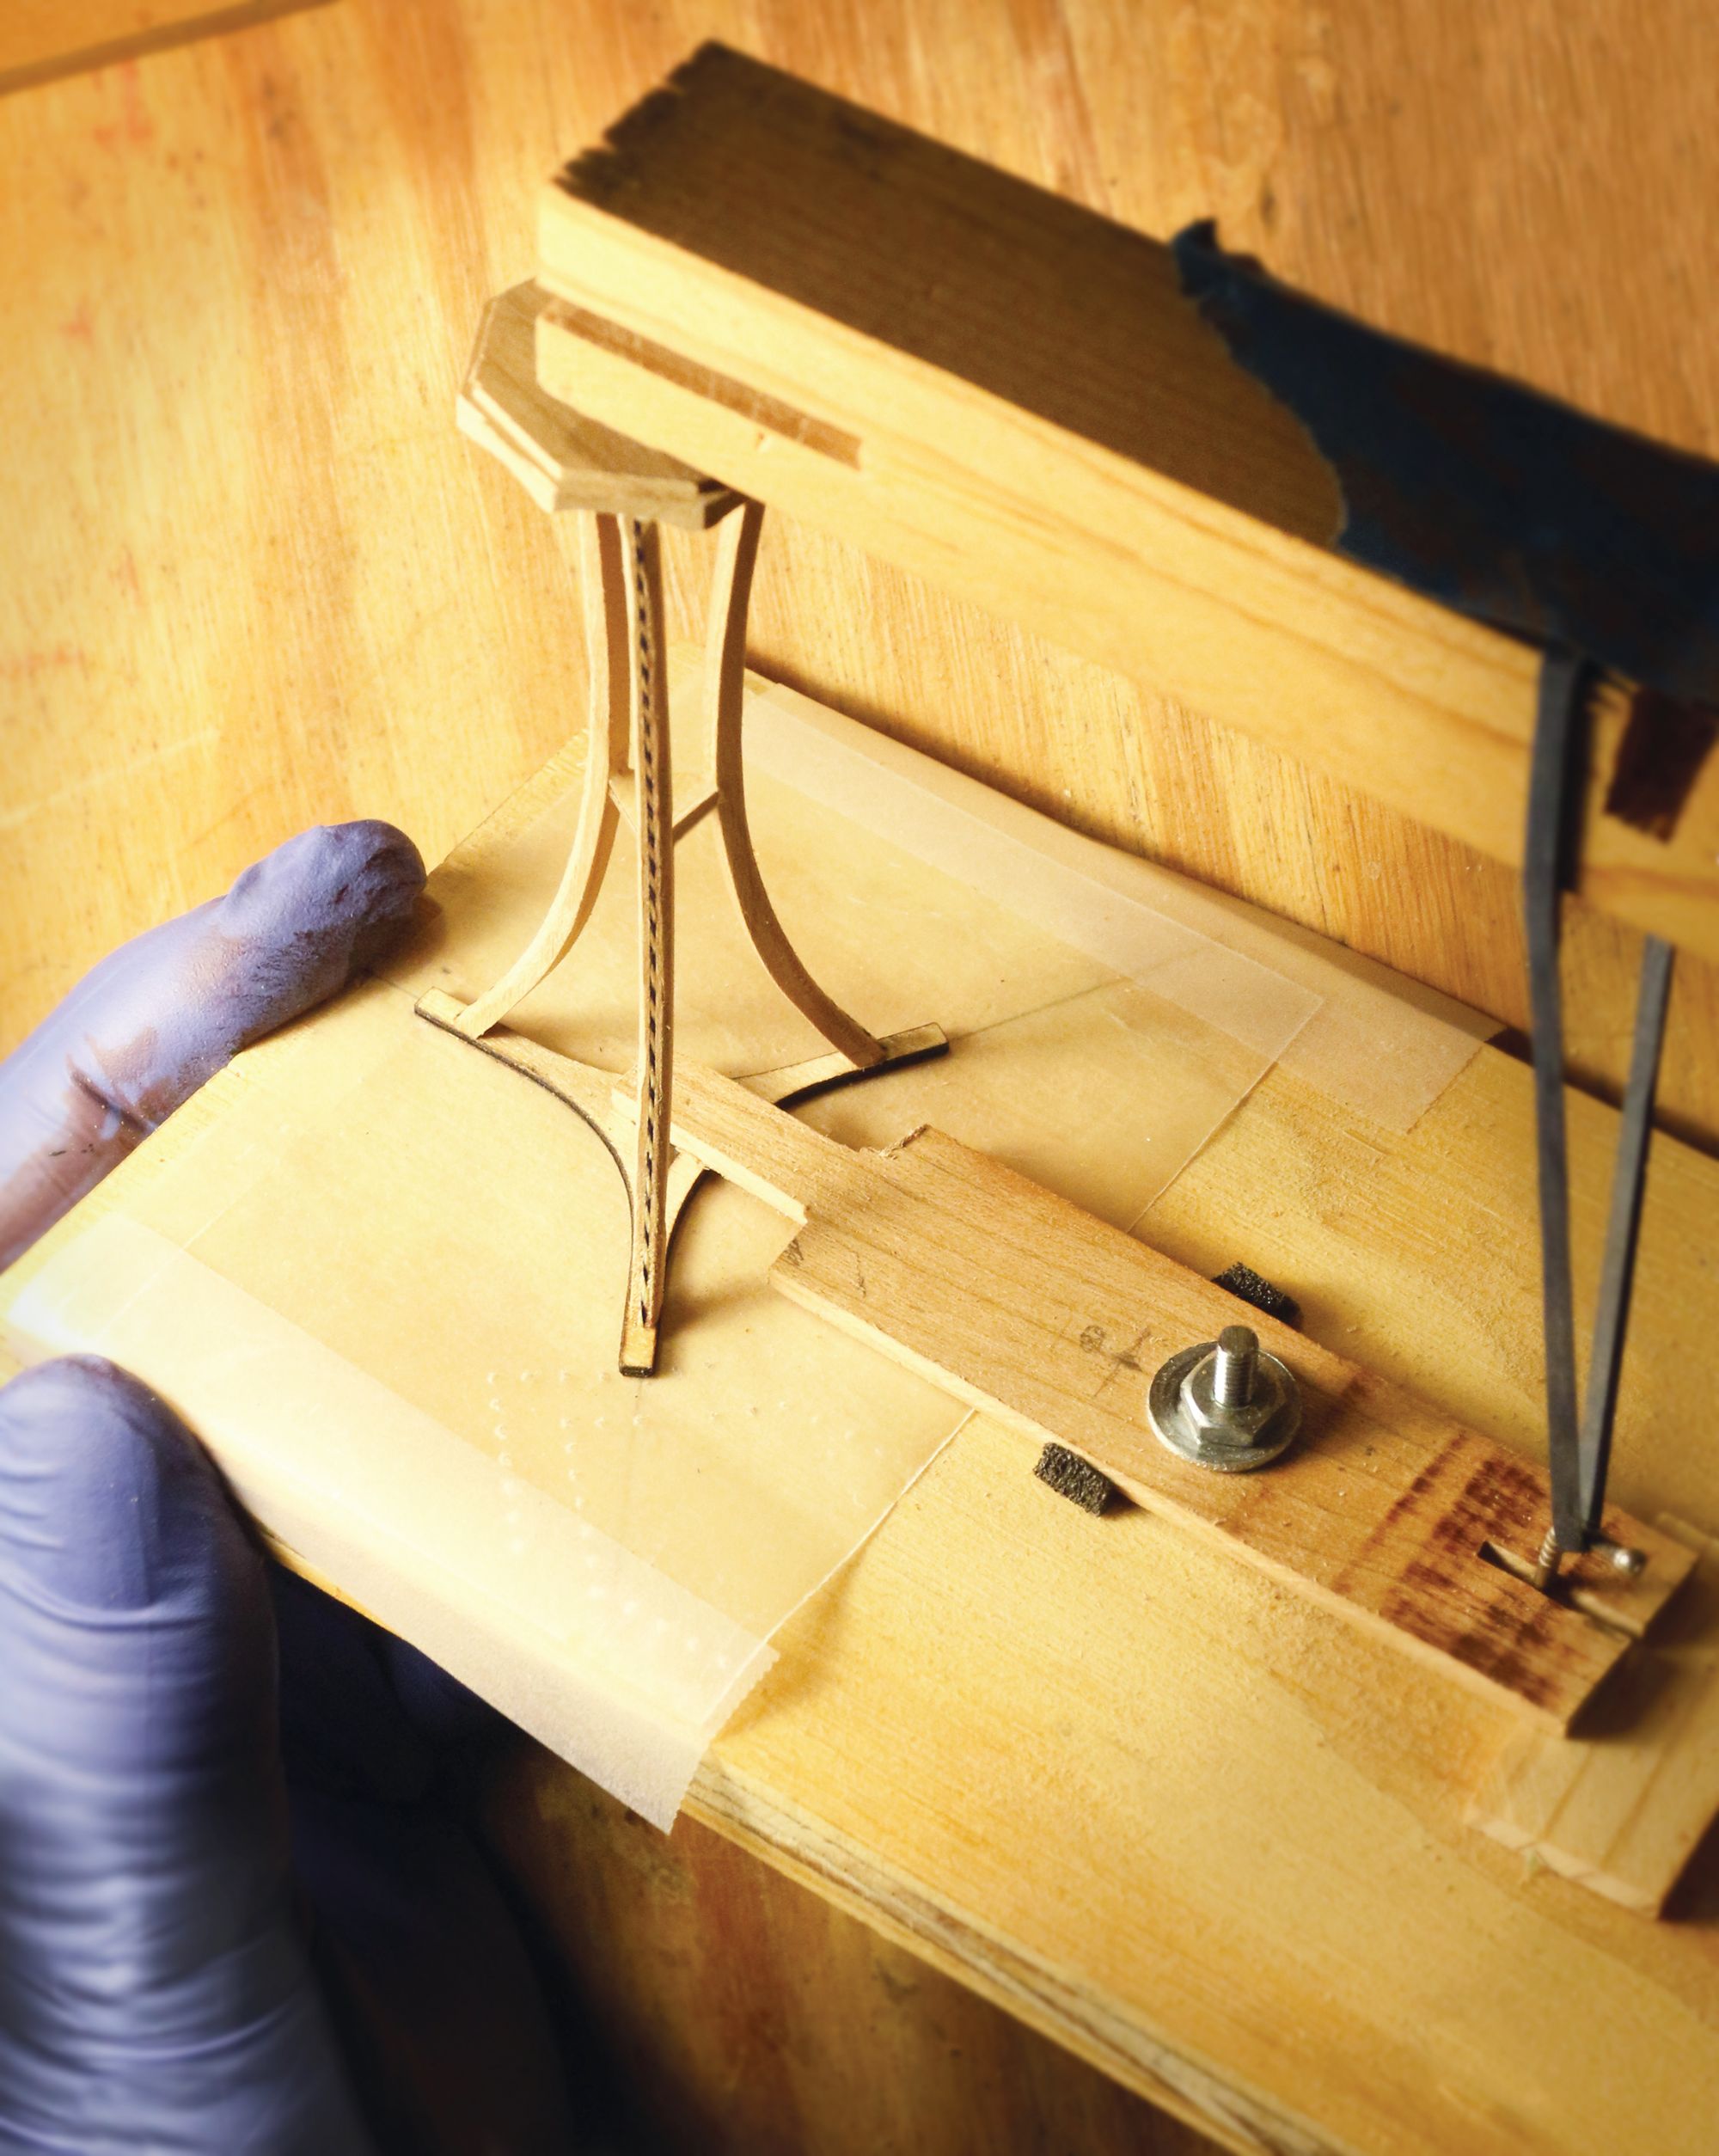
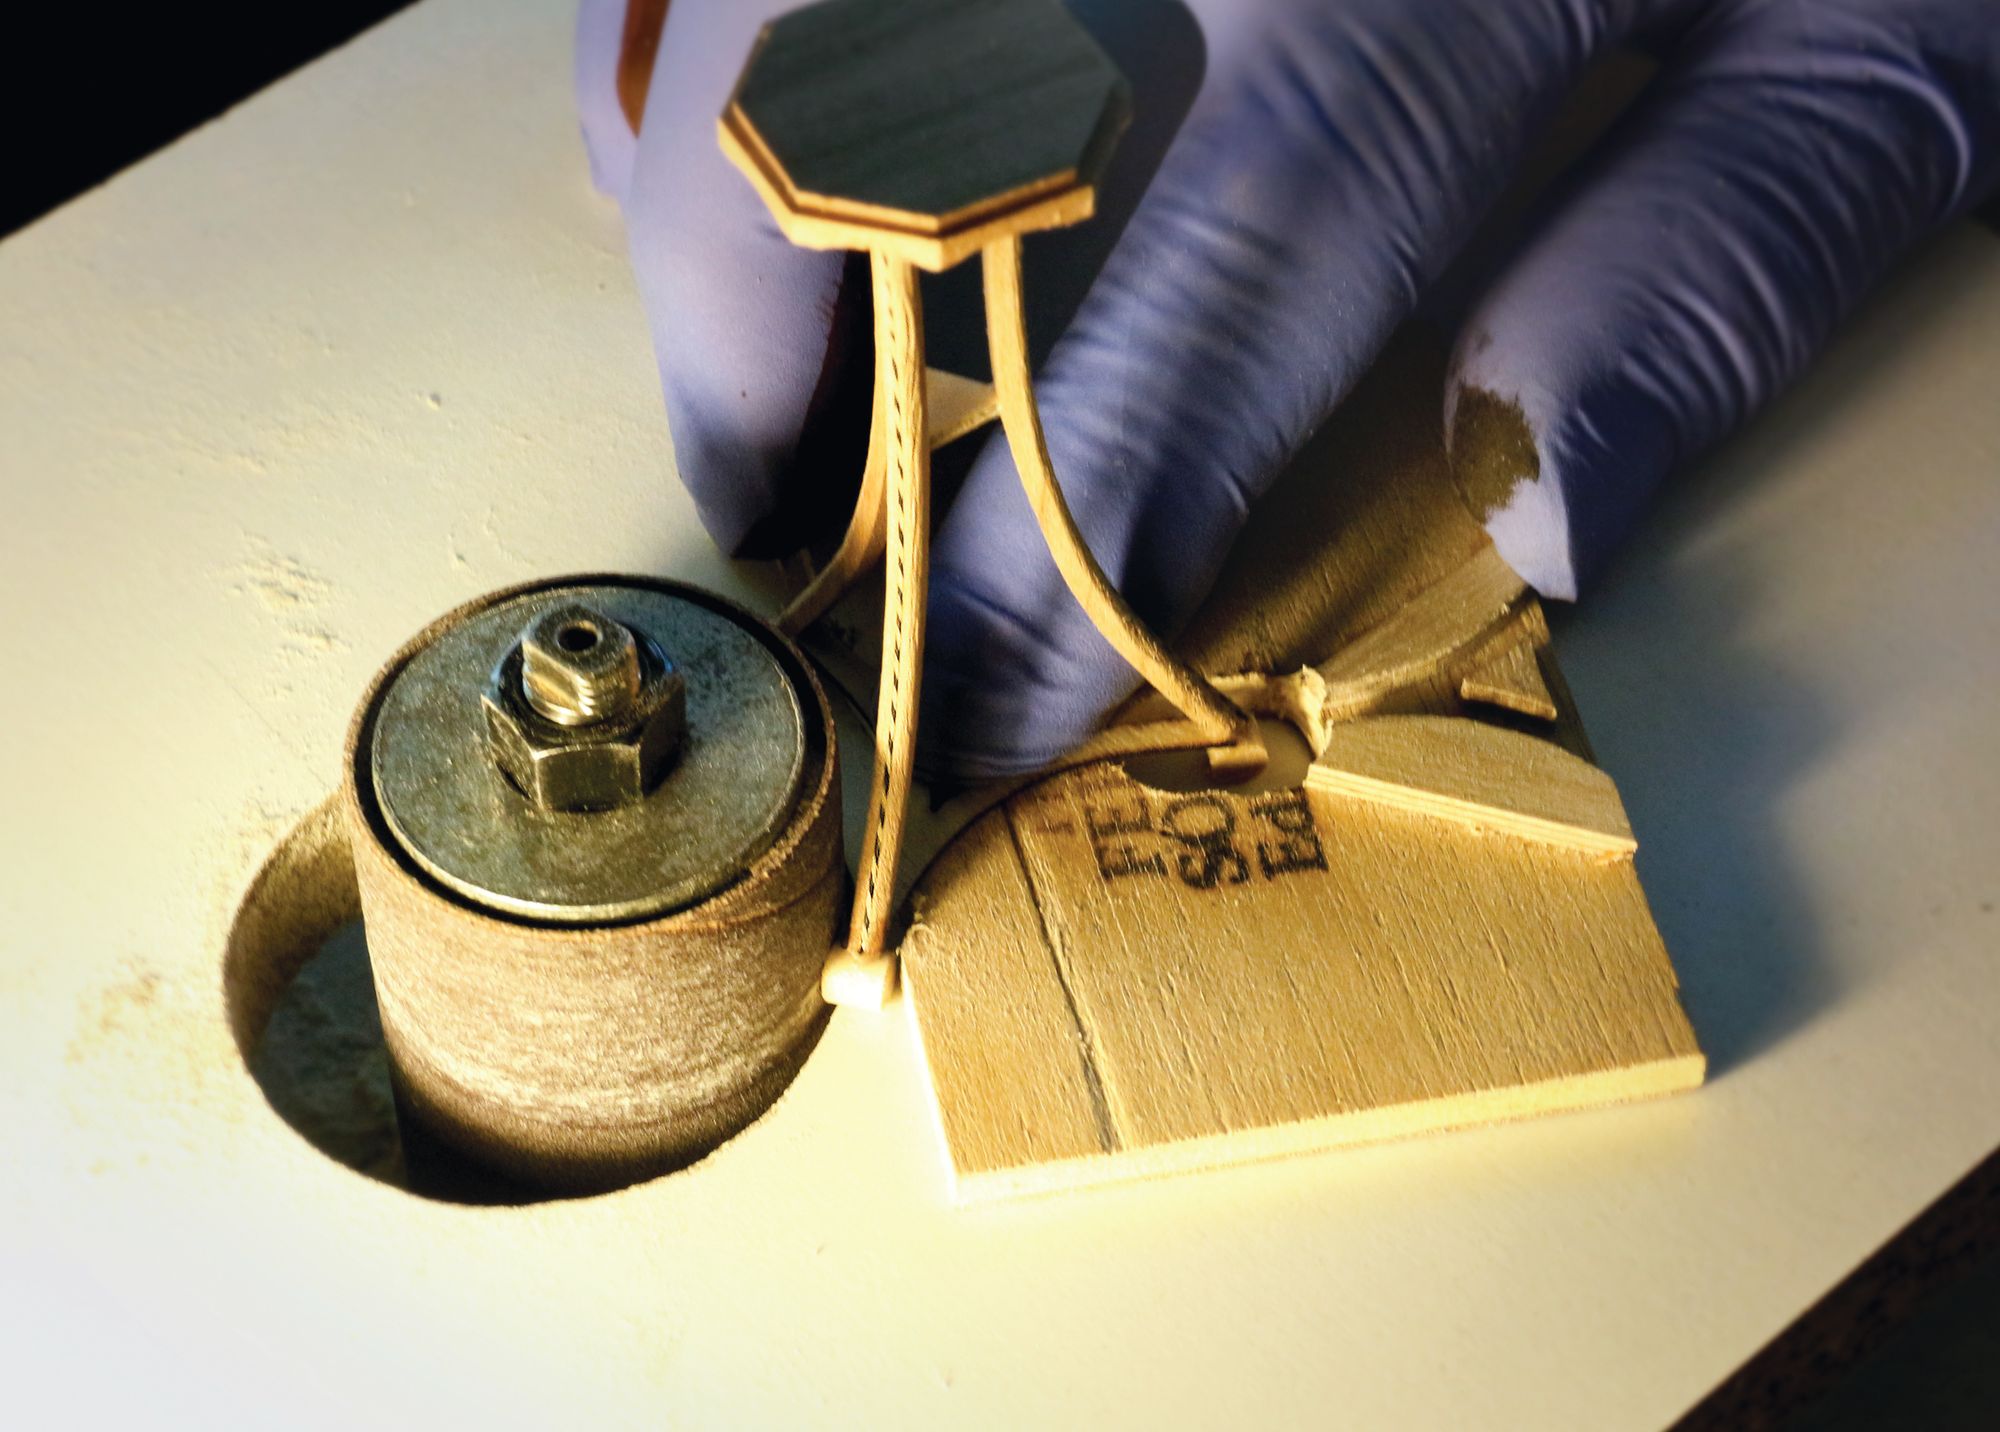
Step 9: After the petite feet are glued into place, a jig holds the now footed table leg allowing only the exact amount of excess to be removed via the spindle sander.
Step 10: This assembly jig is the last stage before final sanding and the first coat of finish.
Step 11: After one coat of finish spray, all areas of the table are double checked, and then resanded before the final coat of finish is applied.
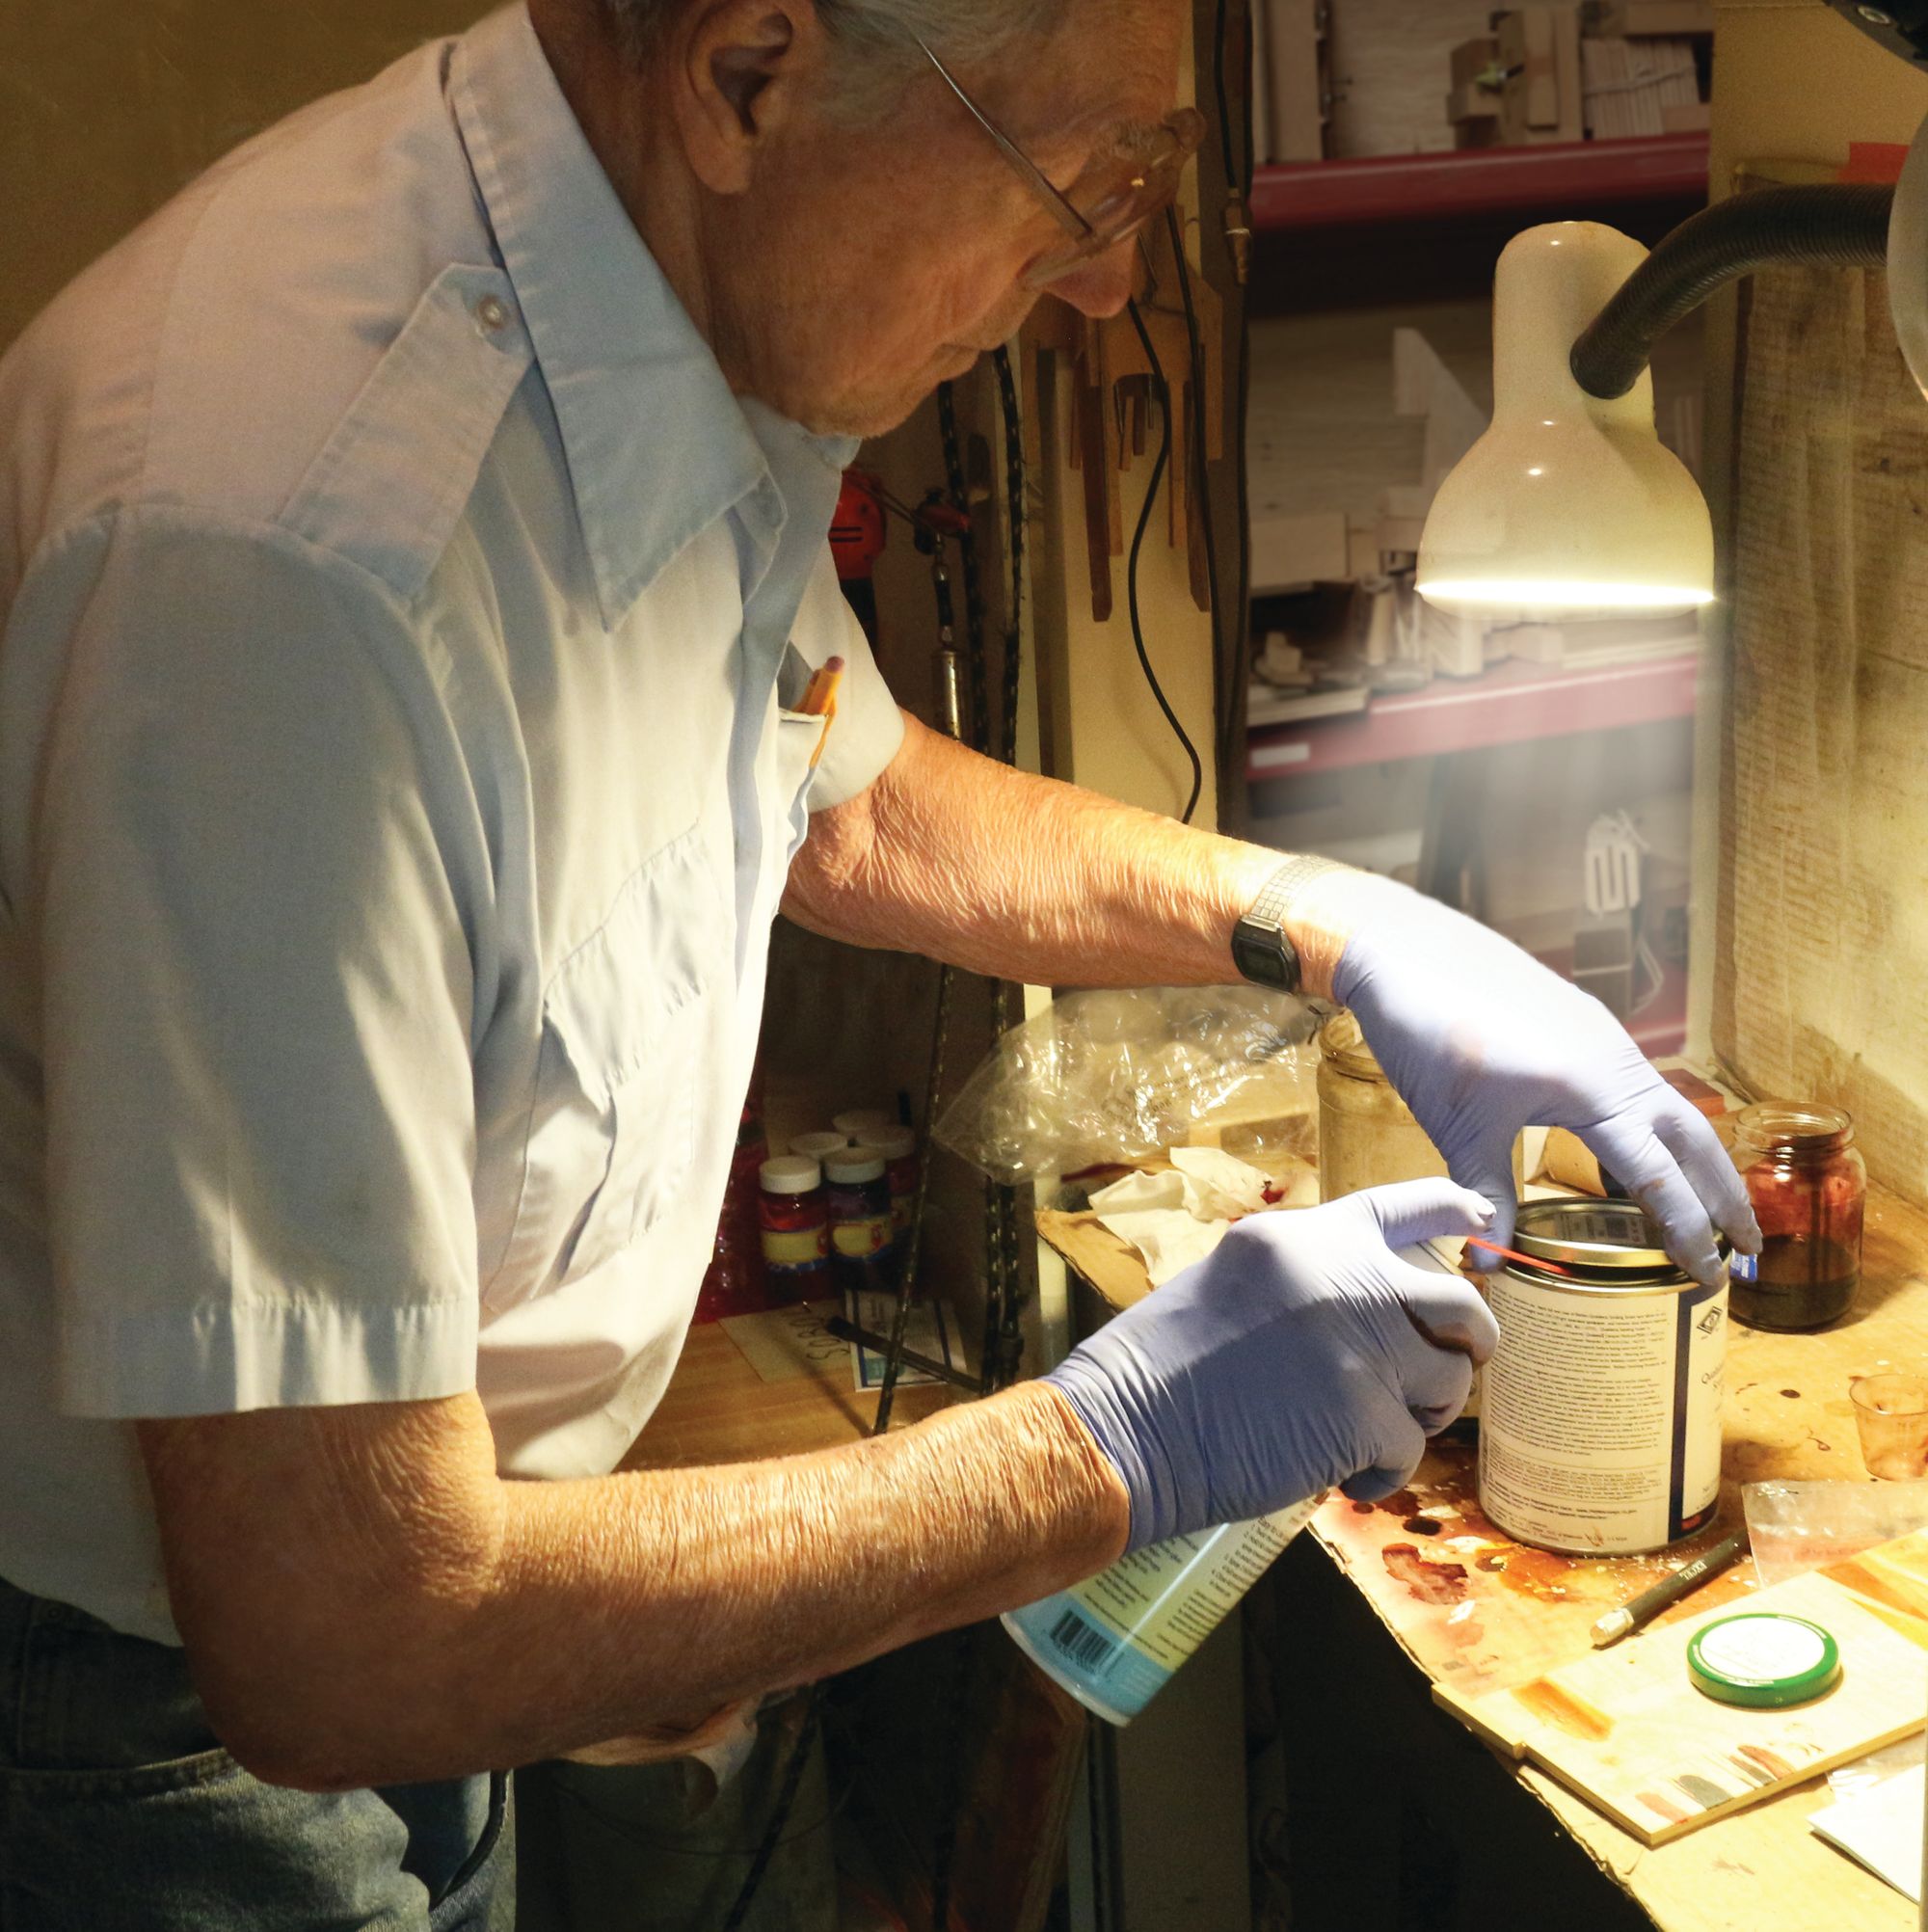
Step 12: Because Ferd wishes to have the thread absorb some of the colour of his custom finish, he does not apply any resist like wax or oil to the twisted thread, however if you wished to retain a more stark and contrasting inlay, you might wish to do so.
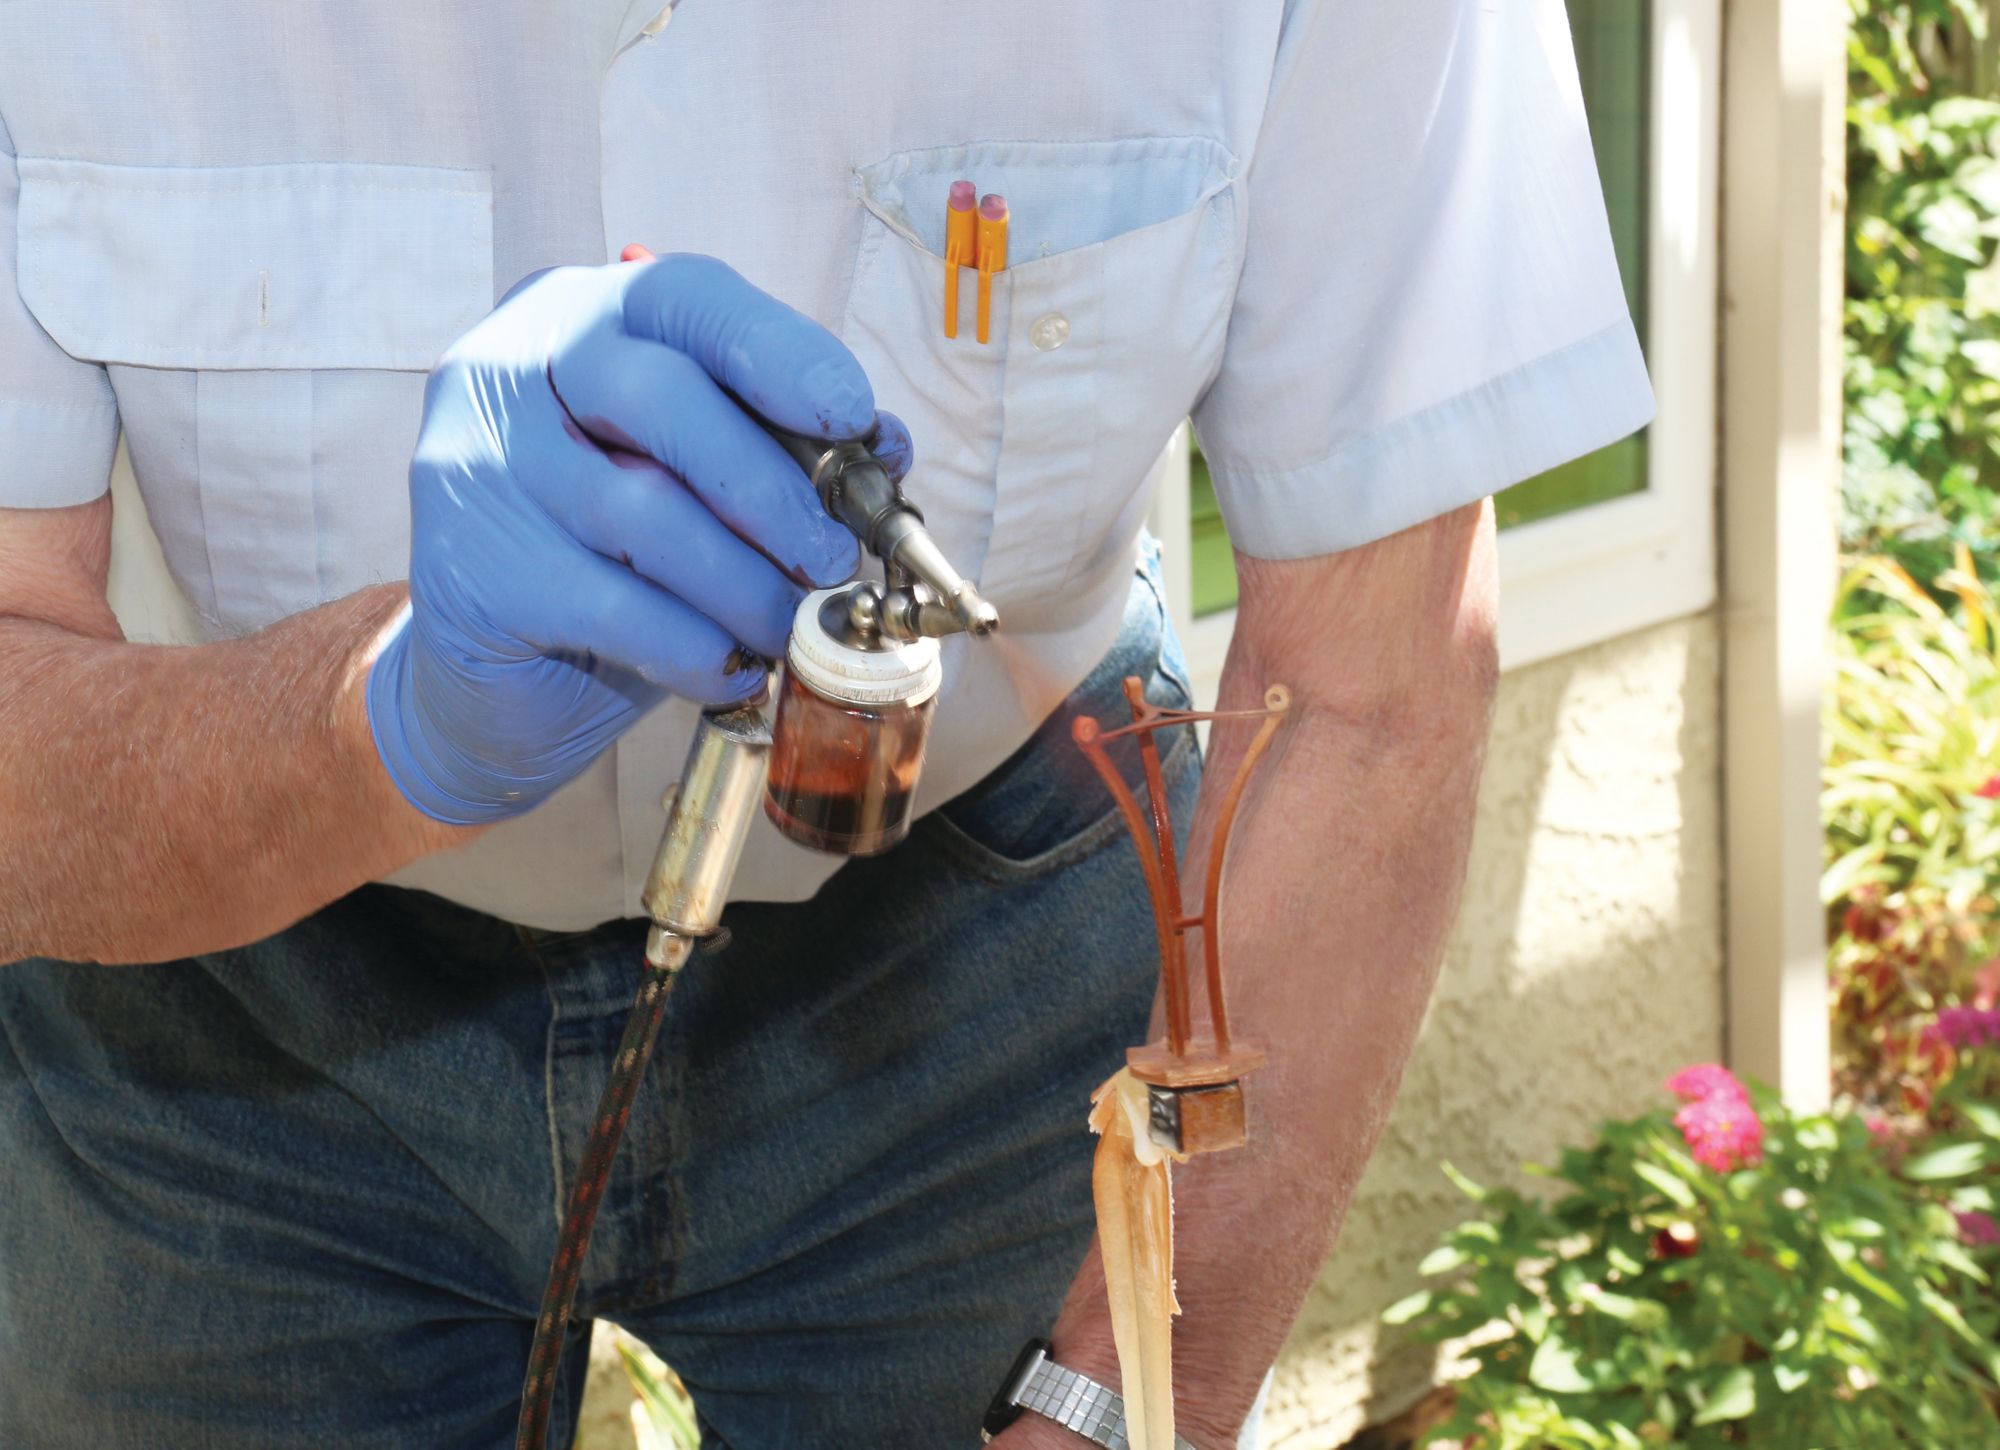
Step 13: Whenever the weather allows, Ferd chooses to spray his custom finishes outdoors.
The Ferd Sobol Editions has been creating miniature furniture since 1981. Millie and Ferd currently live in Thousand Oaks, California, and deeply value the many friendships they have fostered within the miniature community over the decades. Now both in their nineties, they still attend a number of miniature shows throughout the year, and Ferd is still in the workshop daily creating his legendary furniture. See more of their work at www.SobolEditions.com.


